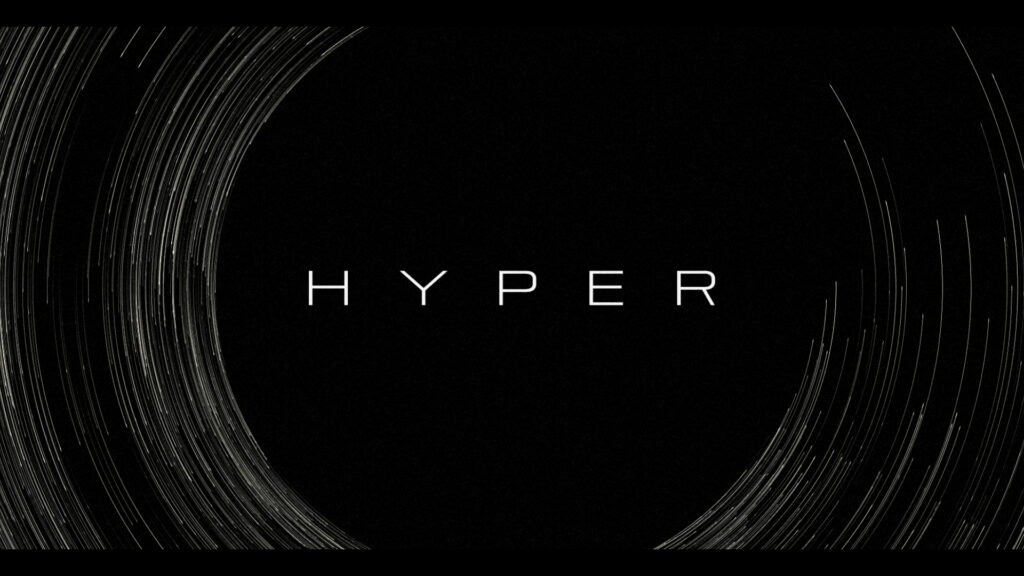

The goal was to create an atmospheric title sequence using only the built-in Adobe After Effects tools and without using any external images or footage.
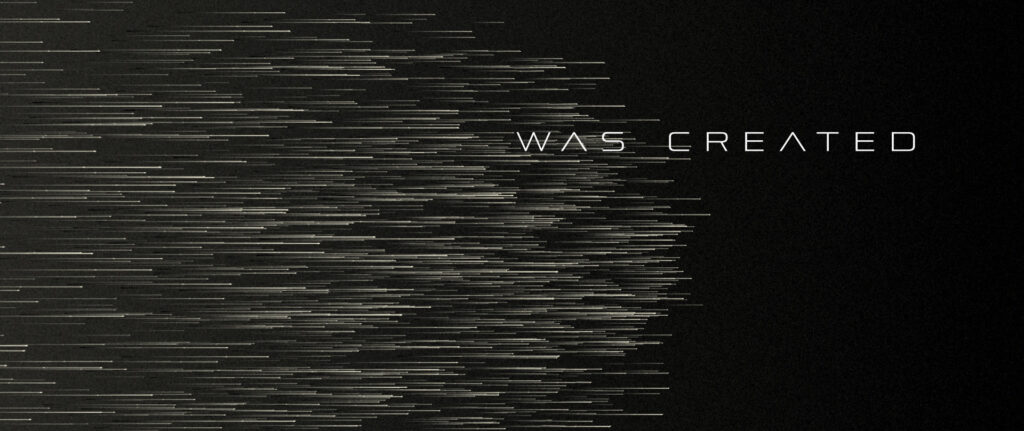
Firstly we wanted faded lines, akin to fiber optics, to be emitted horizontally from the side of the screen.
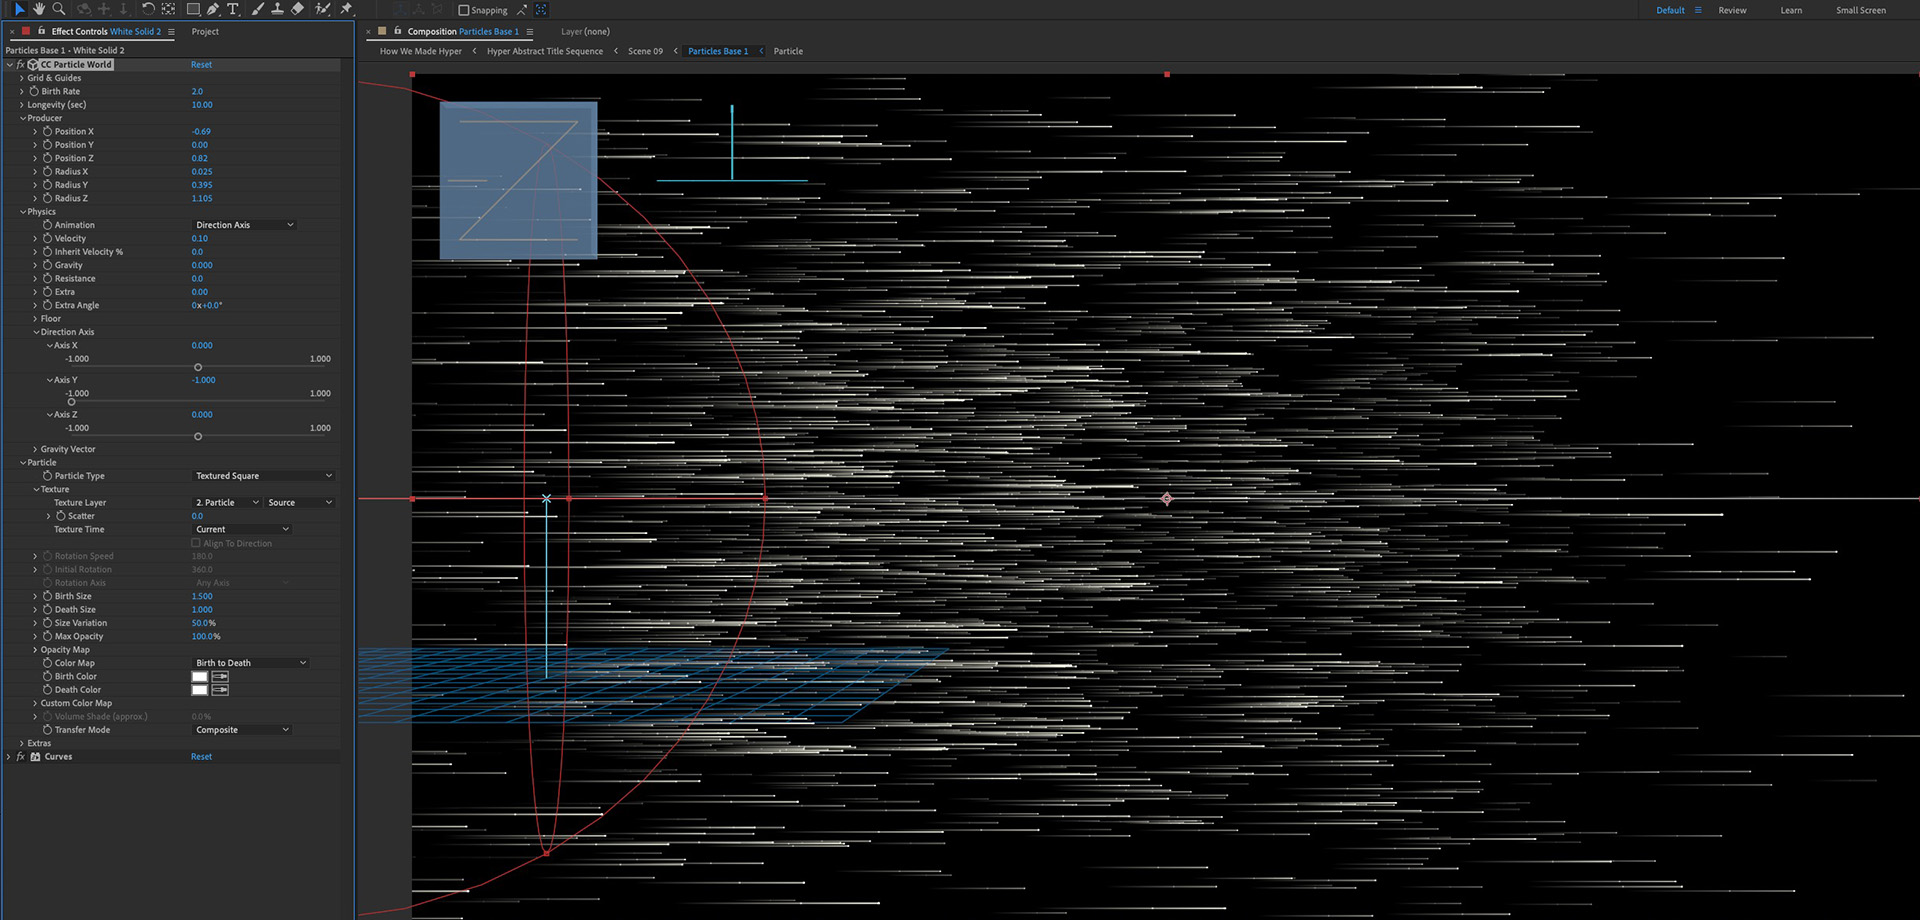
After experimenting with CC Particle World using the default lines it was obvious that a bespoke particle would be needed. A long, thin Solid layer was faded using a Gradient Ramp of white to black. An additional tiny white Solid square was added for the tip. This formed the particle element.
In a CC Particle World composition the Particle Type was changed to Textured Square and the Texture Layer set to our new particle element.
For Physics, the Animation was set to Direction Axis with 0.10 Velocity and zero Gravity.
Extra and Extra Angle values were zeroed out.
Once done, it was time for some variations. But, rather than try to change the camera angle inside the particle emitter (which didn’t produce very good results) deformers were chosen to give fake 3D perspective – and more!
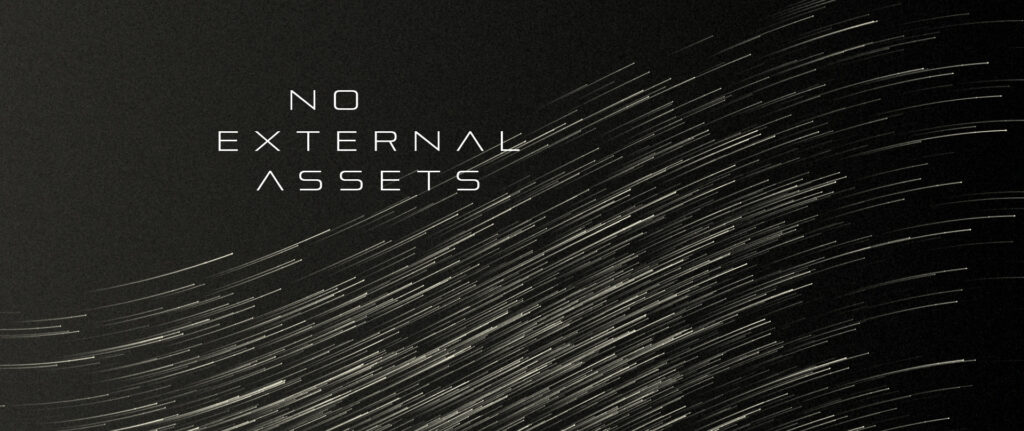
After pre-composing the particle animation the Warp effect was applied. The Arc and Squeeze Styles were used to create curved motion whilst Rise was used to form a rising wave of particles.
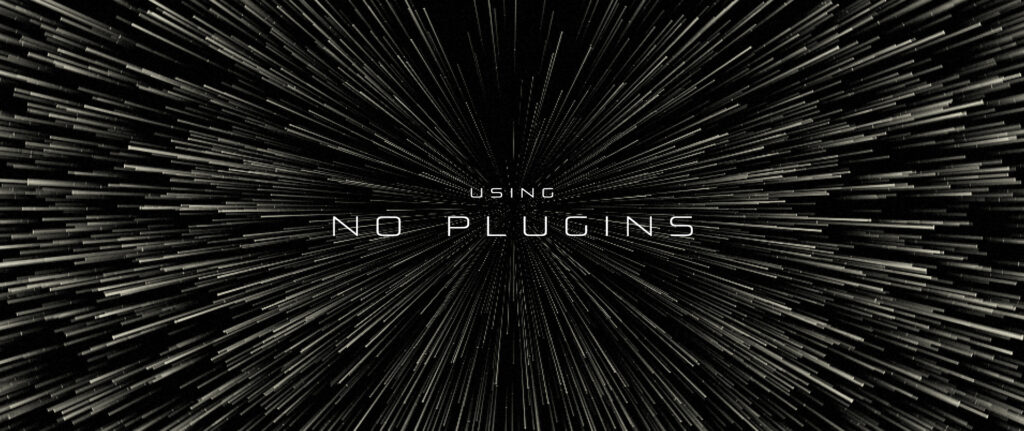
Another warping effect employed was Polar Coordinates which helped form particles flying towards the camera and to create the end ring.

Each different approach was saved into a 4-second sequence with text added over the top.
Finally, animated film grain was applied to the final sequence using Noise HLS Auto with 7% Lightness along with a flickering Exposure (wiggle (15,0.3).

The final result is an abstract, atmospheric sequence featuring data style particle streams.
Now an editable After Effects template
If you want the project file for this sequence we’ve saved it as an After Effects template on Adobe Stock.


