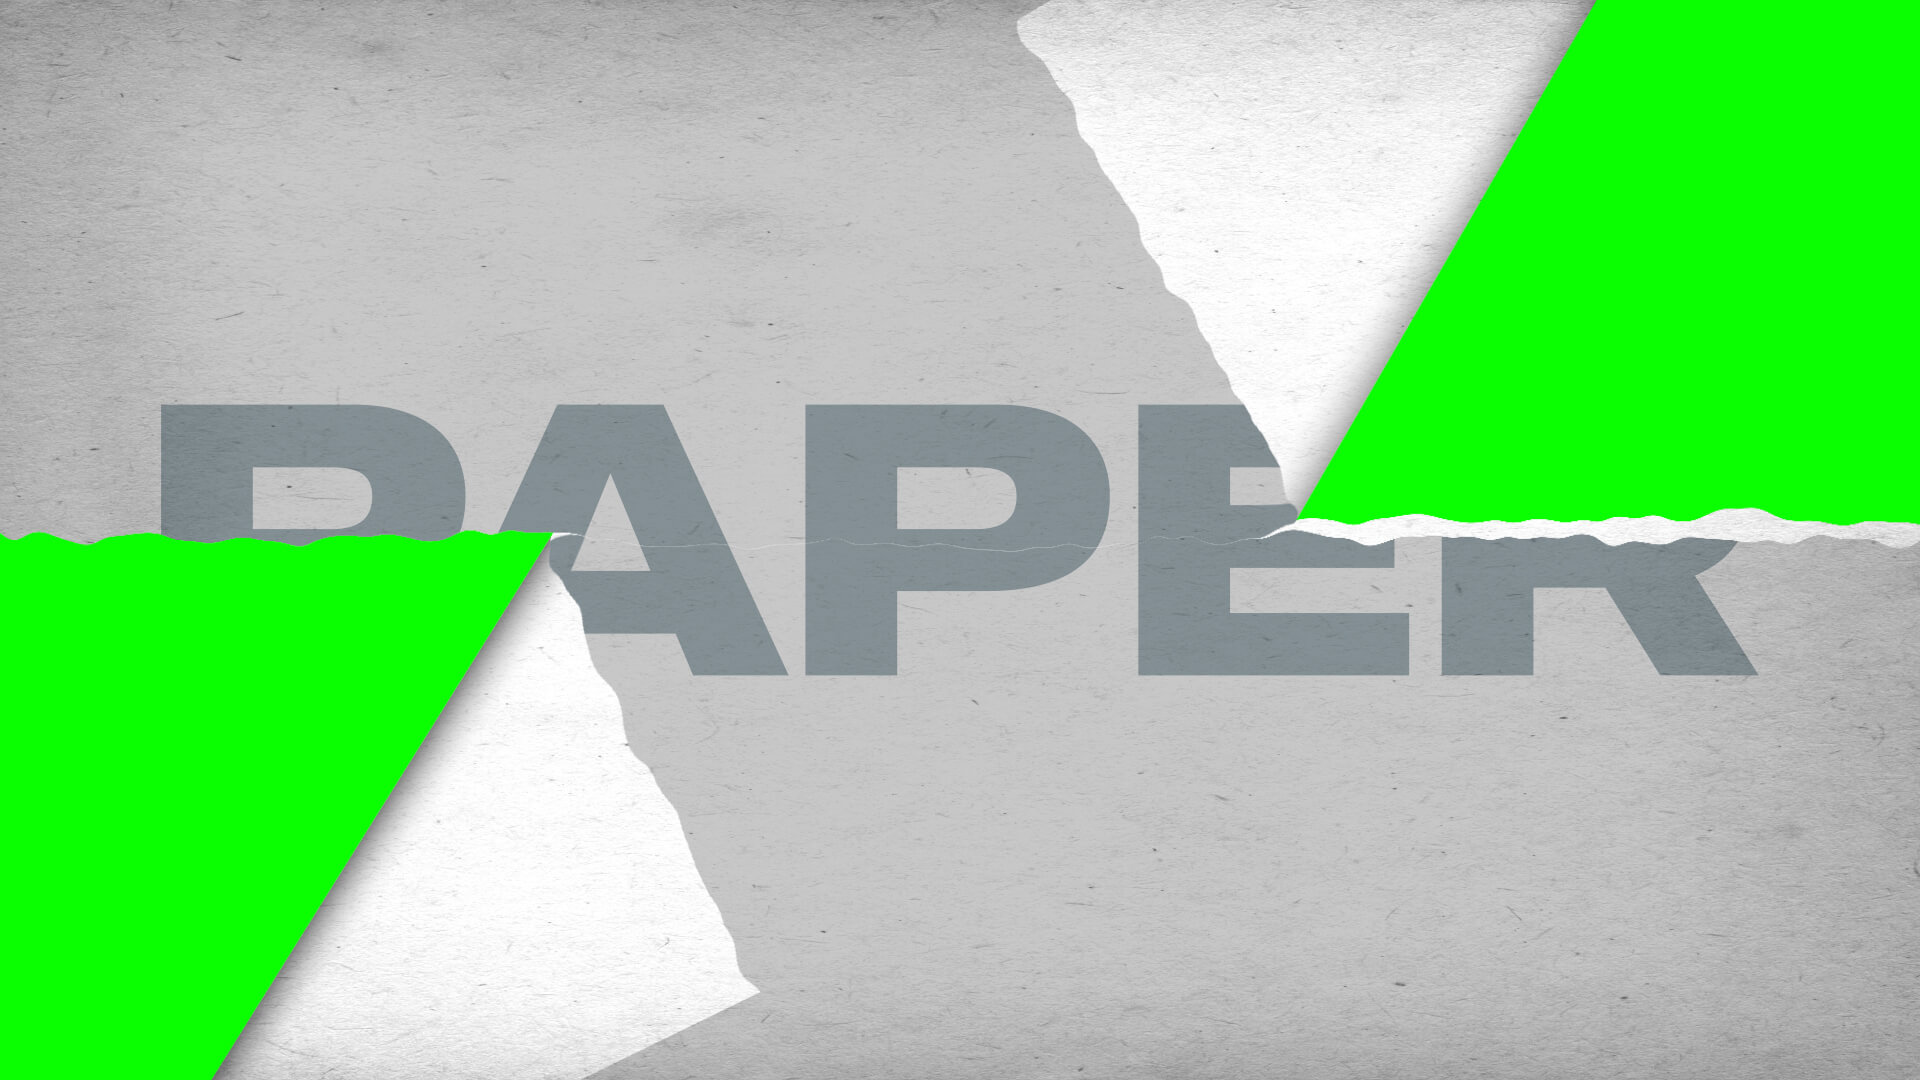
How to create a torn paper transition in After Effects
Creating torn paper transition effects can add a unique, textured look to your video projects, giving them a handmade, organic feel that stands out from more typical transitions. These effects are especially popular in creative projects such as music videos, scrapbooking-style videos, or any content looking to evoke a tactile, crafted aesthetic.
In After Effects, the process of creating torn paper transitions is highly customizable, thanks to its robust compositing tools and masking capabilities. You can craft the exact look of torn edges, layer textures for added realism, and use keyframes to animate the transition between scenes. This approach gives you full control over the transition, allowing you to achieve a highly detailed, professional result.
In this guide, we’ll walk you through how to create torn paper transition effects in After Effects, showing you step-by-step techniques that you can adapt to fit your unique project. Whether you’re a seasoned video editor or just starting out, these methods will help you achieve a compelling, artistic look in your videos.
Creating torn paper in After Effects
Step 1: Create a roughened tear matte
Create a New Composition and name it “Matte”.
Add a new Solid and apply Effect > Transition > Linear Wipe. Change the Transition Completion to 50% and the Wipe Angle to 0.
Next apply Effect > Stylize > Roughen Edges. Change the Border to 40 and the Edge Sharpness to 10. Adjust the Scale to 200. Scale out the sides and top of the layer so that there are no gaps – or just increase the layer’s Scale property to 105%.

Step 2: Create a paper background
Now we need our paper background. Create another composition named “Paper” and add a paper image, a solid color, an image – or a combination of these.
Why not apply a paper texture using Multiply blending mode. For some free paper textures click on this link.
Step 3: Combine the mattes and the paper background
Create a new Composition and name it “Side 1”. Add the Matte comp to this.
Drag in your Paper composition underneath the “Matte” layer and set the Track Matte to Alpha.
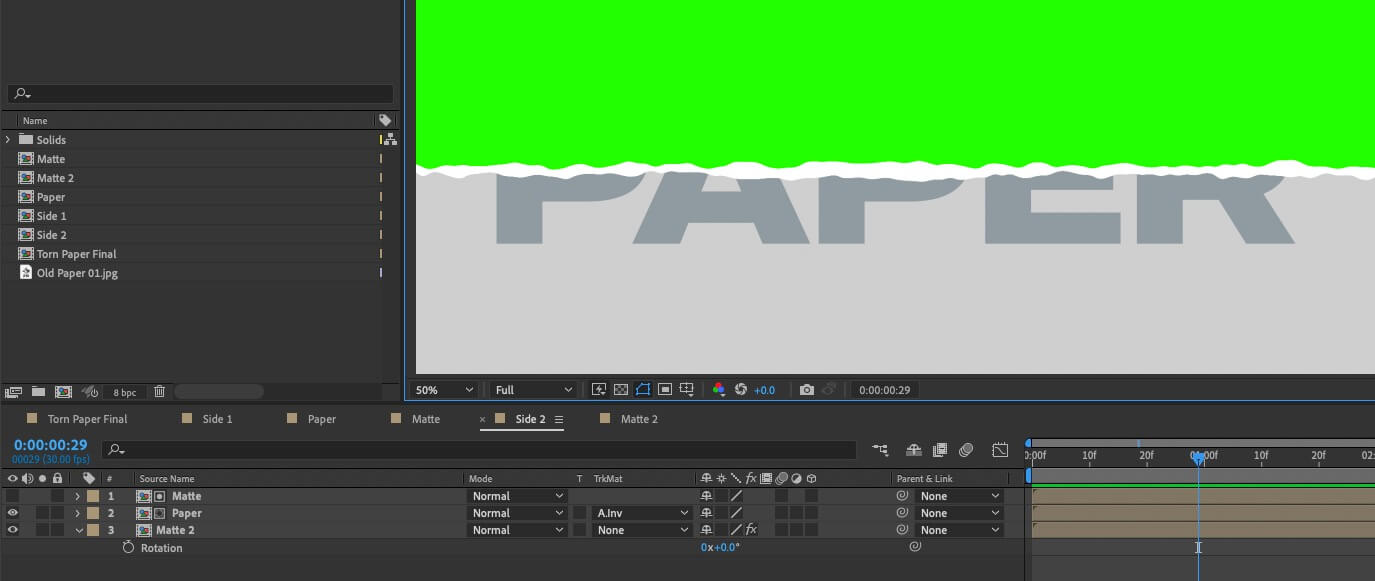
Make a copy of “Side 1” which will be named “Side 2”. Open this and change the “Paper” layer’s Track Matte to Alpha Inverted.

Step 4: Add the ripped paper seam
To create a ripped paper seam duplicate the “Matte” comp and open this new composition (“Matte 2”). Under the Linear Wipe effect change the Transition Completion to 48% and the Wipe Angle to 180. Under the Roughen Edges effect move the Offset Turbulence values to something randomly different.
Open “Side 2” and add this new “Matte 2” to the bottom layer, then add Effect > Generate > Fill, applying a white color.
You could also apply Effect > Noise & Grain > Noise here to emulate paper grain.
Step 5: Add the CC Page Turn effect to each side
Add a final Composition named “Torn Paper Final” and drag both “Side 1” and “Side 2” into it.
On the “Side 1” layer add Effect > Distort > CC Page Turn. Change the Controls to Classic UI and the Back Page to None. Change the Paper color as required and the Back Opacity to 100%.
Step 6: Animate the paper tearing using Fold Positions
Add keyframes for the Fold Position at the start and the middle of your sequence.
Select the CC Page Turn effect and copy and paste it to the “Side 2” Layer. Change the start and end keyframes (and move them to go from the middle to the end of your sequence) and adjust the Fold Direction to reverse the animation direction of the tear.

Step 7: Add a stop-motion effect
If you want a stop-motion effect add an Adjustment Layer to the final comp and choose Effect > Time > Posterize Time and change the Frame Rate to 8.
That’s it!
Step 8: (Optional) Creating variations
Once you have the base project it’s easy to change the look of your transition, such as the rip direction, by changing the angles of your Matte Linear Wipes and using different values for the Fold Directions.
You can also change the Linear Wipe > Transition Completion percentages to move the tear point lower or higher.
Download our After Effect project file here and have a play around!
Want some ready-made templates?
You can find some awesome paper tear and crumple templates on Adobe Stock. These are ready-to-go, editable After Effects project files with all the animation keyframes and effects set up. Just add your media and text and hit render!
Trendy Paper Fashion Slideshow By Iluzie
Torn Paper Intro AE By Ollomy
Torn Paper Intro By Ollomy
Torn Paper Dynamic Intro By Ollomy
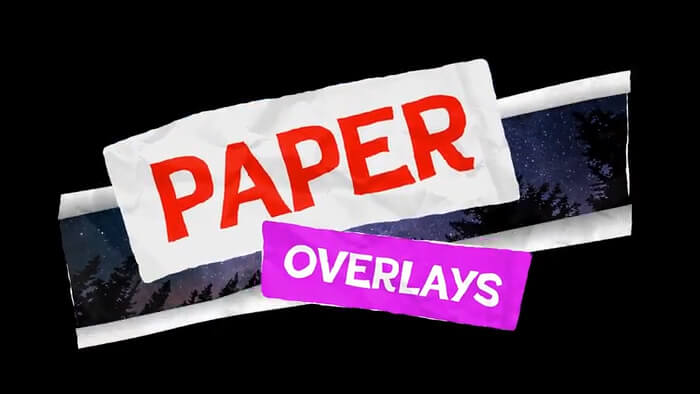
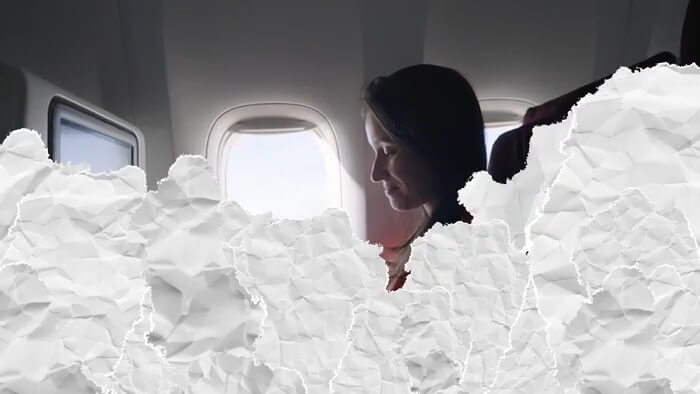
Crumpled Paper Media And Text Overlay By Enchanted Studios>
Tear Matte Rip Transitions By Motion Forward
Creating torn paper transitions in other video editing software
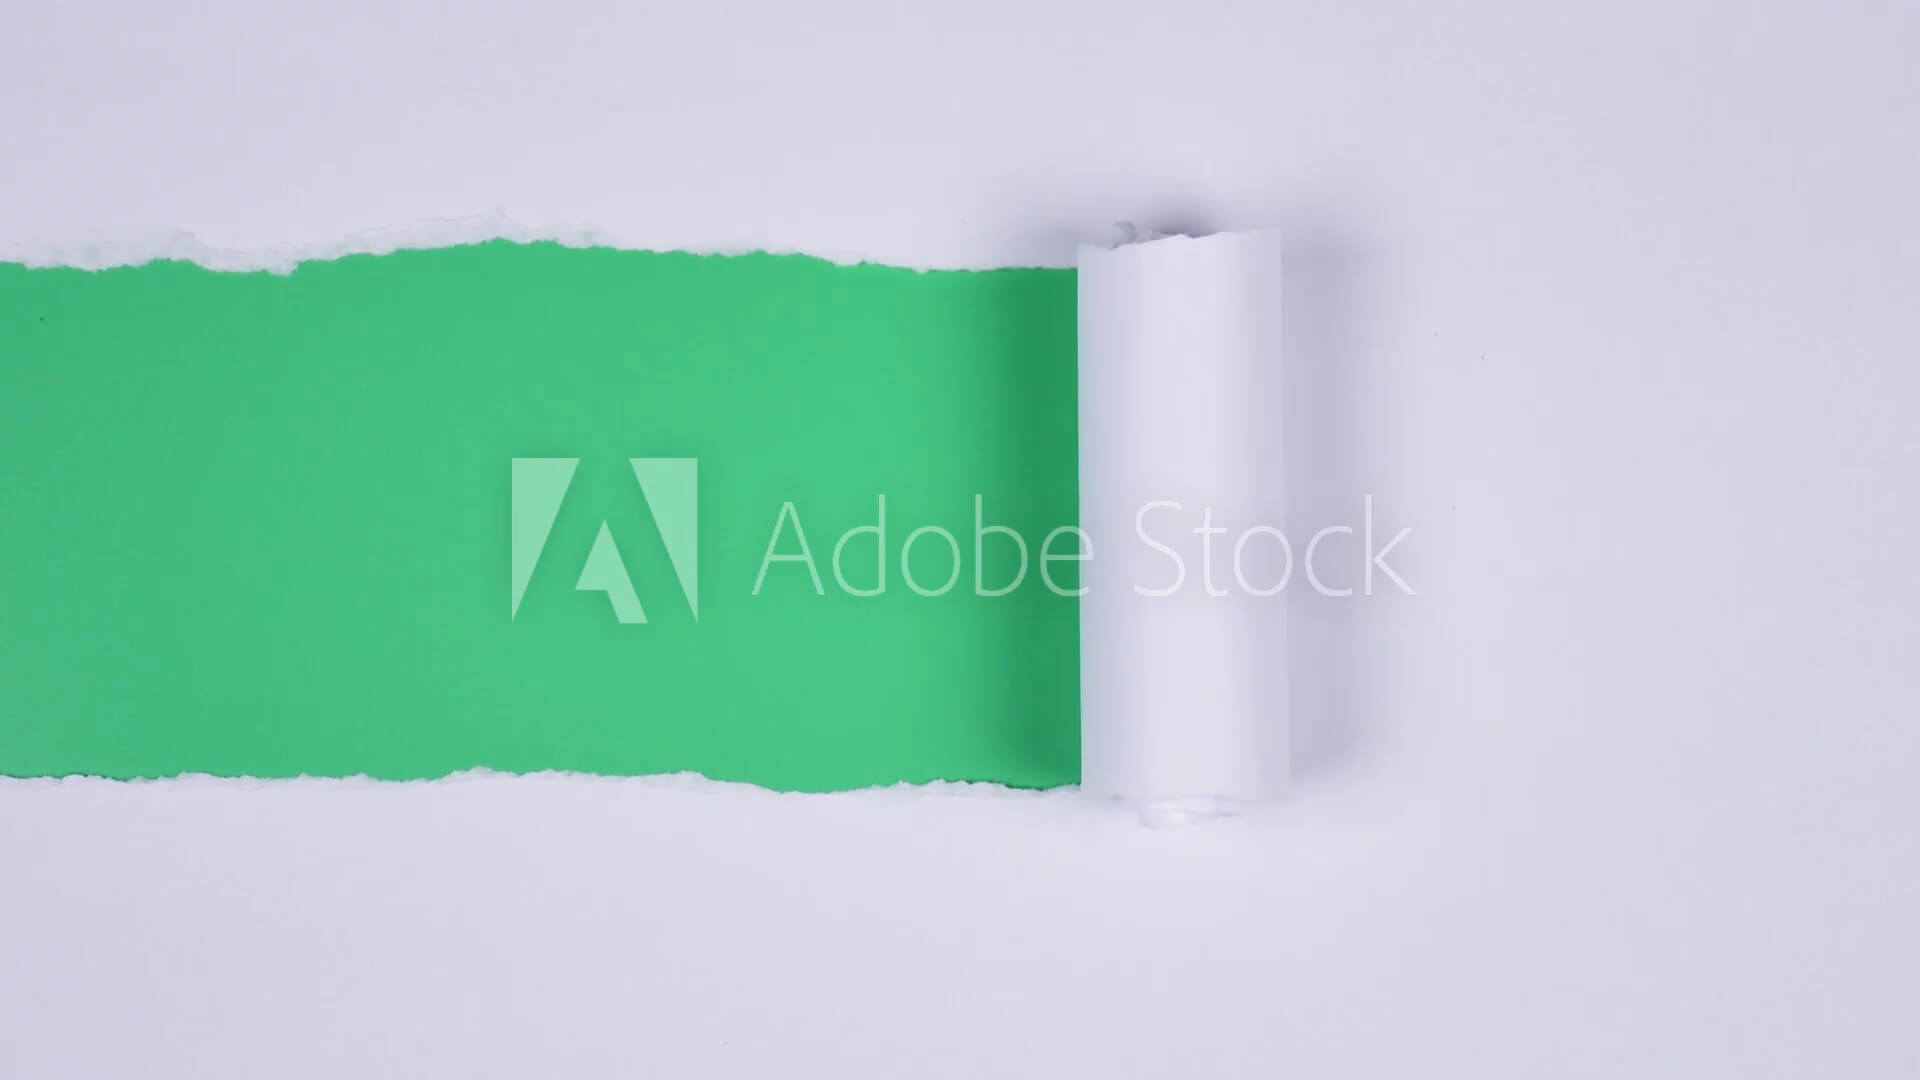
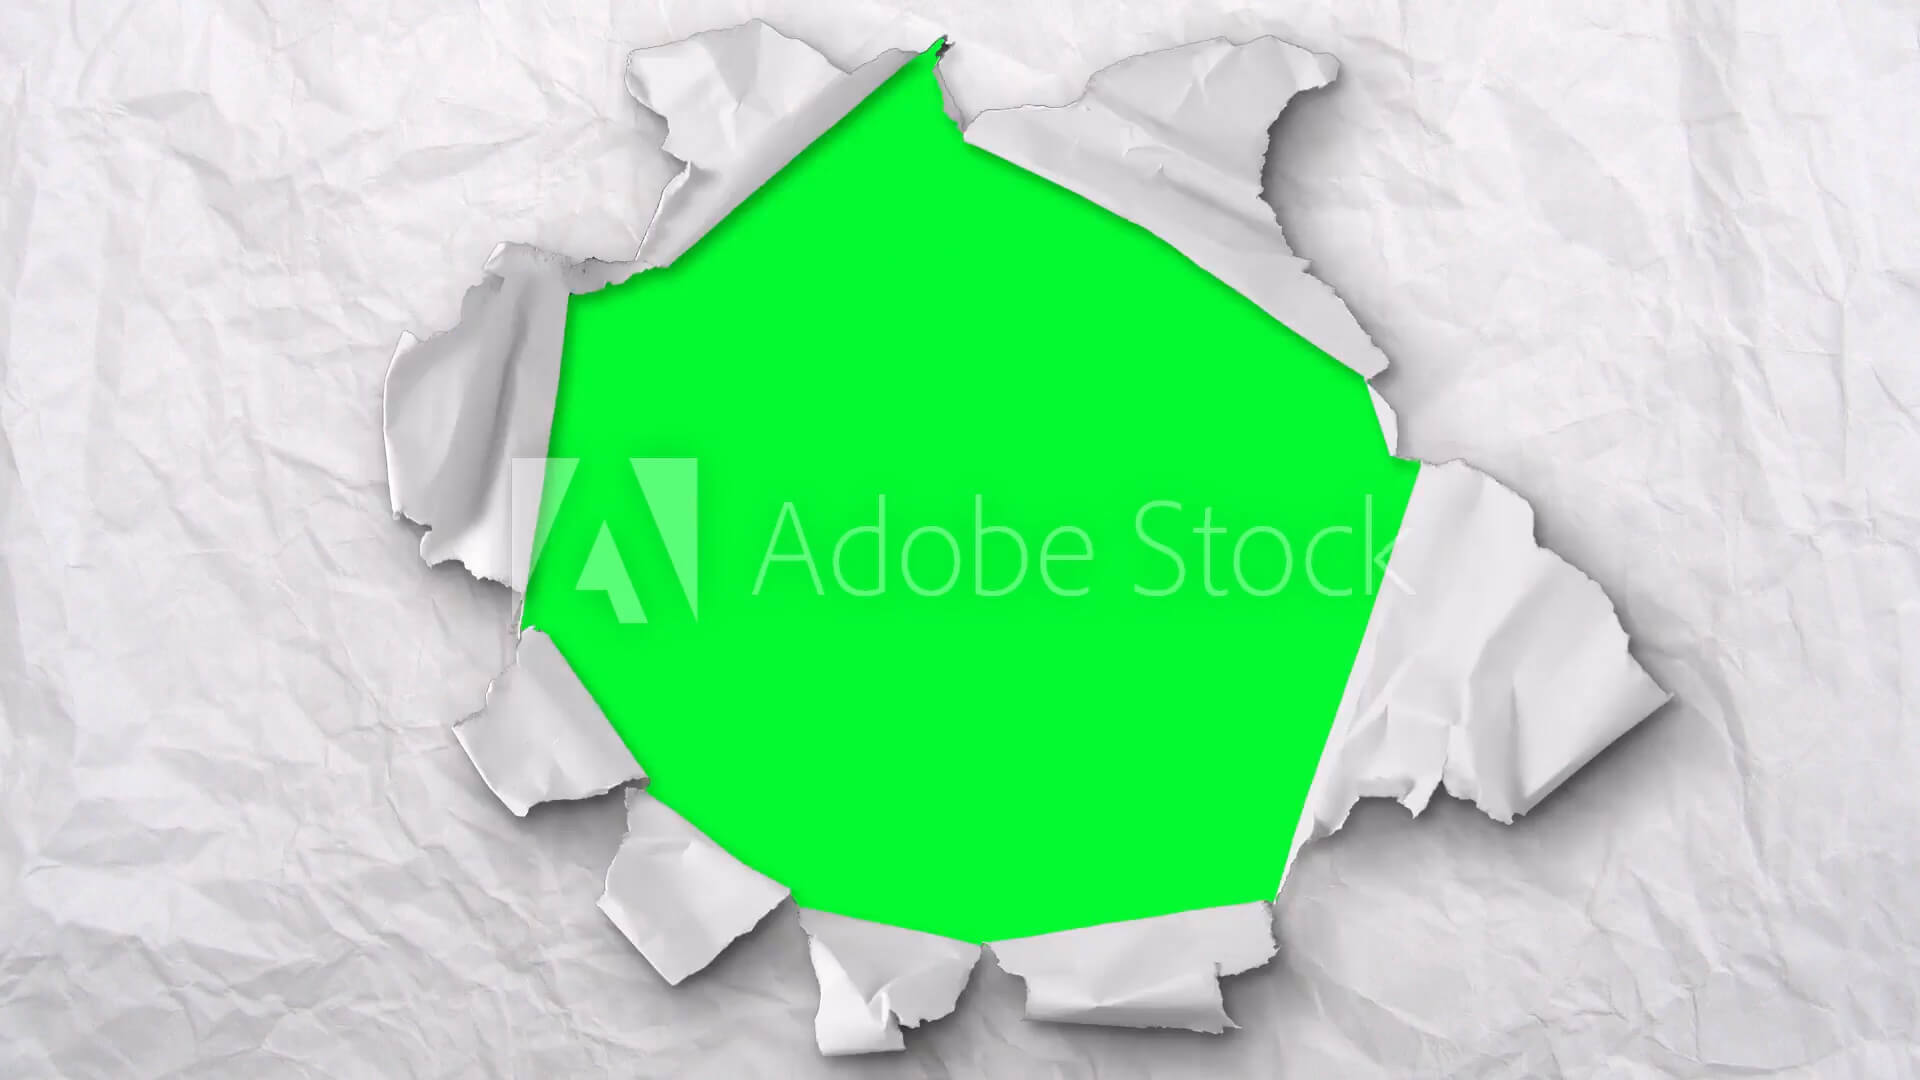
If you’re using Premiere Pro, Final Cut, Sony Vegas, or any other editing software that can remove green screen backgrounds you’ll find plenty of torn paper video transitions in Adobe Stock’s video collection.


