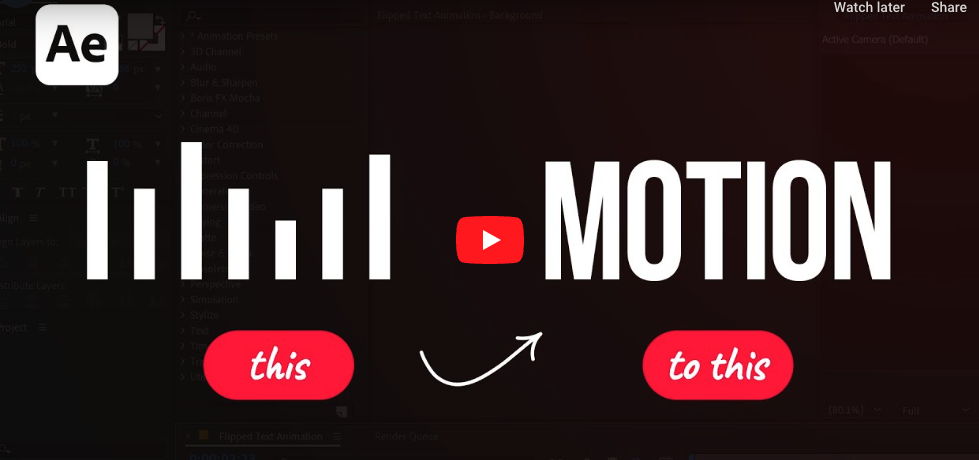
In this Adobe After Effects tutorial, Avnish Parker guides us through the process of creating a captivating Flipped Text Animation. We’ve taken the time to list out the instructions in text format.
So, let’s dive in and make your text come to life!
Setting the Stage
- Open After Effects and create a new composition with a 1920×1080 resolution and a frame rate of 60 frames per second.
- Ensure that your 3D renderer is set to Cinema 4D. If it’s on classic 3D, switch it to Cinema 4D.
Creating the Background
3. Add a new solid layer and name it “background.” Adjust its size and choose your preferred background color. In this case, we’ve gone with a stylish dark grey.
Working with Text
4. Select the text tool from the toolbox. The chosen font here is Bebas Neue.
- Click anywhere on the screen and start typing your desired text. Center-align it and adjust the color, in this case, a vibrant grey.
- To make the text 3D, if the 3D tab isn’t visible, right-click on it, go to columns, and choose switches as well as modes.
- Convert the text layer to 3D and access the geometry options.
- If you can’t see the geometry options, make sure your renderer is set to Cinema 4D.
- Adjust the extrusion depth value to 50, adding depth to your text.
Animating the Text
10. Open the rotation by pressing ‘R’ on your keyboard.
- Go to approximately 30 frames into the composition and add a keyframe for the Y rotation.
- Return to the first frame and change the Y rotation value to 90 degrees. Your text should now rotate.
- Adjust the anchor point by zooming in and pressing ‘Y’ to use the anchor tool. Place it in the center of your letter.
- This ensures the letter rotates from its center. Position both keyframes as needed.
Adding Bounce Effect
15. Open the scale and unlink proportion scaling by clicking on the link icon.
- Go to around 20 frames into the composition and add a keyframe for the scale.
- On the first frame, set the Y scale value to 0%. This creates a zoom-out effect.
- To enhance the animation, use the ChatGPT After Effects Script, which you can download from the provided link.
- Apply the bounce expression to your text layer.
- Adjust keyframe positions to avoid interference and make the animation smoother.
- Select the keyframes and press ‘F9’ to apply easy ease.
Fine-tuning and Motion Blur
22. Return to the main timeline and enable motion blur for the text layer.
- Adjust keyframes for precise timing.
Duplication and Final Touches
24. Duplicate the text layer and replace the letter with another, in this case, the letter ‘O.’
- Position the new letter at the desired location, making sure it slightly overlaps.
- Adjust the rotation to hide the depth of the letter ‘O.’
- Go through all keyframes, making changes to ensure seamless animation.
And there you have it! Your Flipped Text Animation is ready to shine. You can always take your time to perfect it.
Thanks for following along with this tutorial.
Click here for a free trial of Adobe After Effects!


