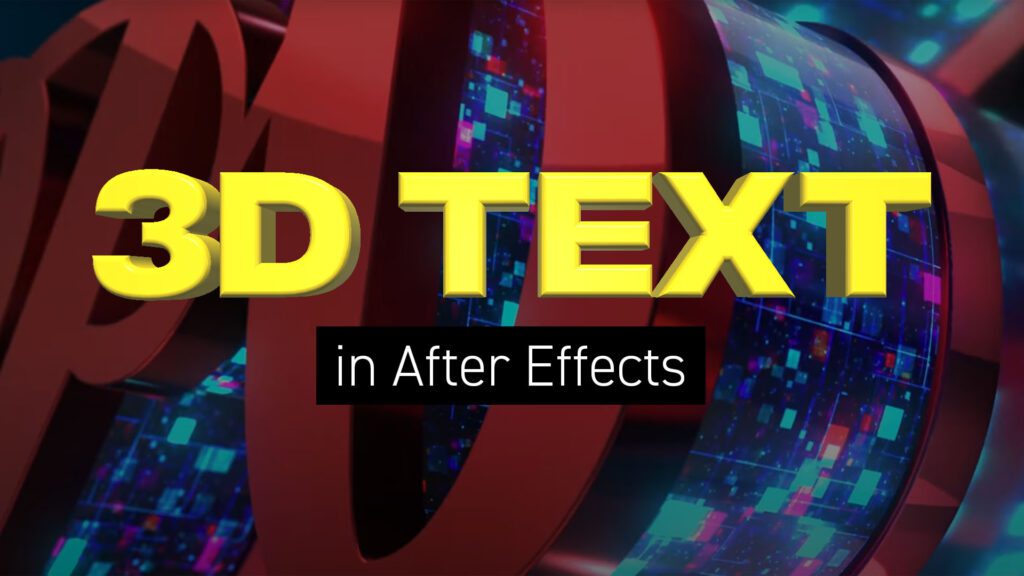
Creating 3D Text in After Effects – No Plugins
In this article we’ll look at creating 3D text inside After Effects using a variety of techniques and approaches.
Text Guide | Video Tutorials | Editable Templates

Creating extruded 3D text in After Effects involves using its built-in 3D capabilities and may require some knowledge of the software. Here’s a step-by-step guide to help you achieve this without the need for any third-party plugins.
Step 1: Create a New Composition
Open Adobe After Effects on your computer and create a new composition by clicking on Composition > New Composition.
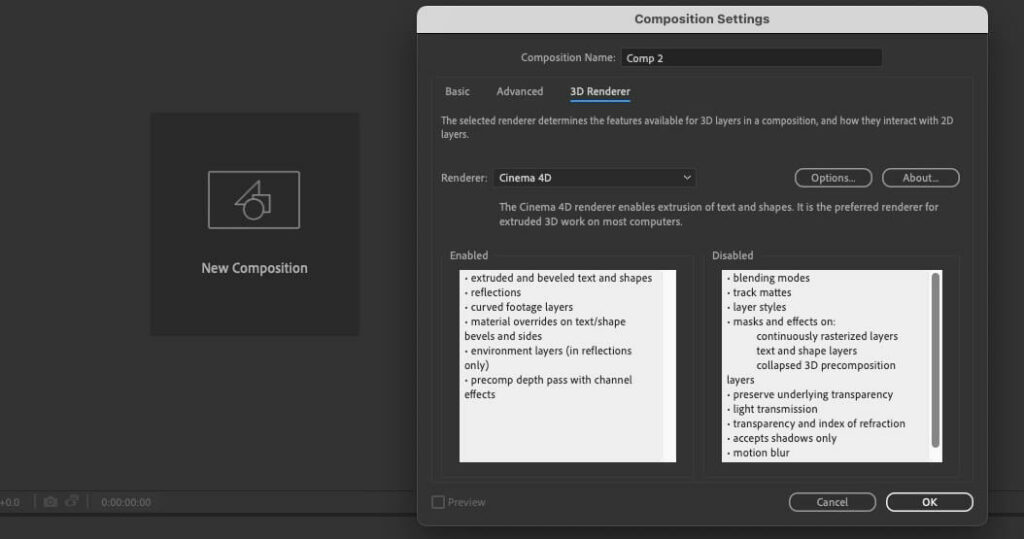
Under Basic, set your preferred composition settings, including resolution, duration, and frame rate. Before you close this dialogue box, under 3D Renderer, choose Cinema 4D. This will enable 3D extrusions and environments.
Step 2: Create a 3D Text Layer
Click on the “T” icon in the toolbar to create a text layer. Type the text you want to make 3D. Turn the layer into 3D by enabling the 3D Layer switch, which looks like a wireframe cube.
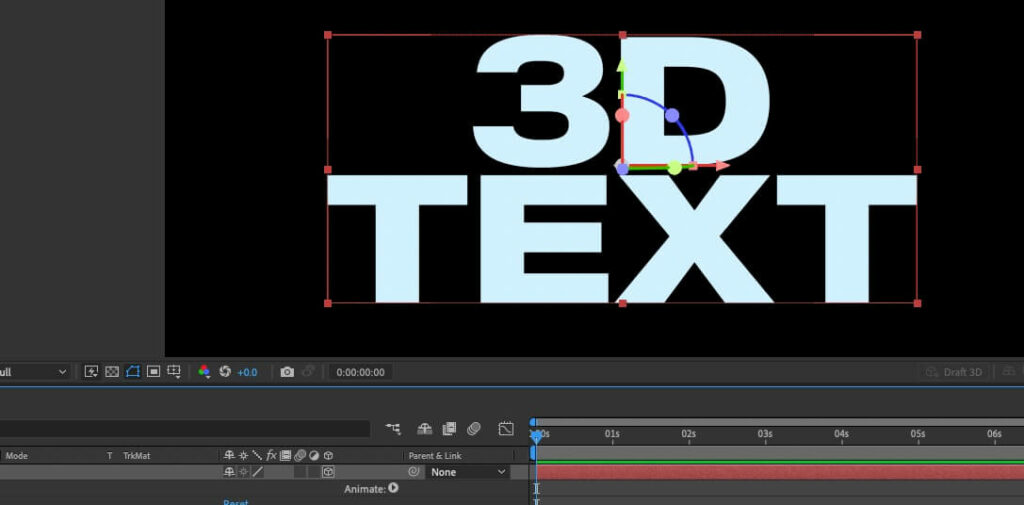
Step 3: Adjust 3D Text Properties
With the text layer selected you can now adjust various properties to give your text a 3D appearance. Twirl down the text layer options using the chevron on the left and, under Geometry Options, increase the Extrusion Depth to around 100 and set the Bevel Style to Angular. Increase the Bevel Depth to 10.

Step 4: Add Colors and Reflections
Add color to each of the 3D facets by choosing:
- Animate > Front > Color > RGB
- Add > Property > Bevel > Color > RGB
- Add > Property > Side > Color > RGB

Alternatively, add an image or video to your composition and choose Layer > Environment Layer. This image will be reflected in the 3D text by increasing the Material Options > Reflection Intensity.
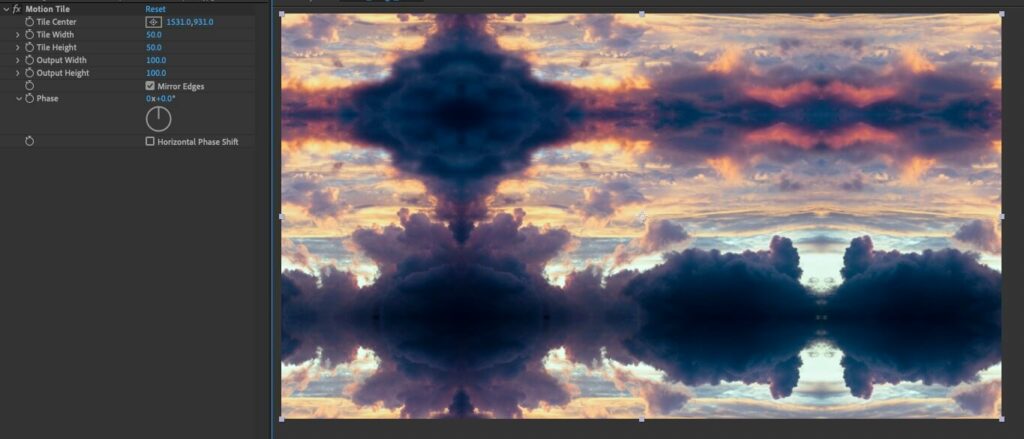
Pro Tip: For a seamless reflection add Effect > Stylize > Motion Tile. Use values of 50% for Tile Width and Height and check Mirror Edges.
If you have already added colors the reflection will combine with these by adjusting the Material Options > Metal value.
Step 5: Create a Camera Layer
To make your 3D text look more realistic, you’ll need to add a camera. Go to Layer > New > Camera to create a new camera layer. Choose a Two-Node camera preset or customize its settings according to your needs.
Press ‘C’ on the keyboard to toggle between the camera Orbit, Pan and Dolly Zoom tools. Use these camera tools to position the viewport.
Step 7: Add Lights
For realistic shading and depth, add lights to your composition. Go to Layer > New > Light to create a new light layer. Adjust the light’s properties, such as intensity, color, and type (Spot, Point, or Ambient).
To better position the direction of lights use the 3D View Popup dropdown and switch to Top, Right, Custom, etc. Switch back to Active Camera to view the results.
Step 7: Animate the Camera
To create dynamic movements, you can animate the camera by adding keyframes to the Point of Interest and Position properties and using the camera tools to set beginning and ending views.
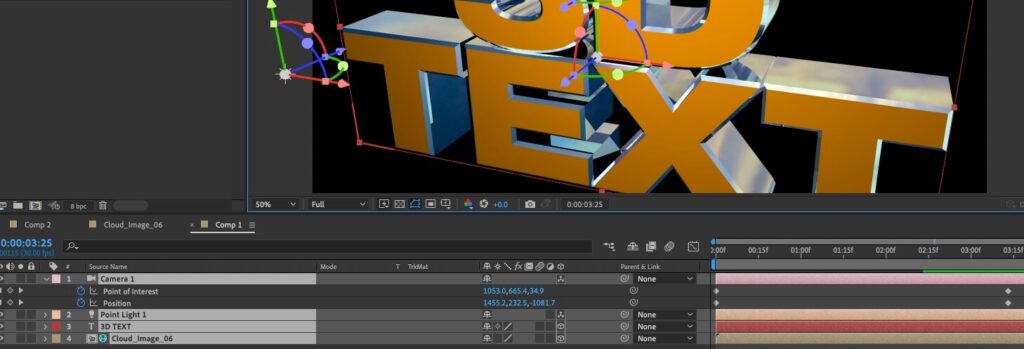
Step 8: Preview and Render
Before finalizing your project, use the RAM Preview function to see how your 3D text looks in motion. When you’re satisfied with the result, you can render your composition by going to Composition > Add to Render Queue.” Configure the render settings, including the output format and destination folder, and then click Render.
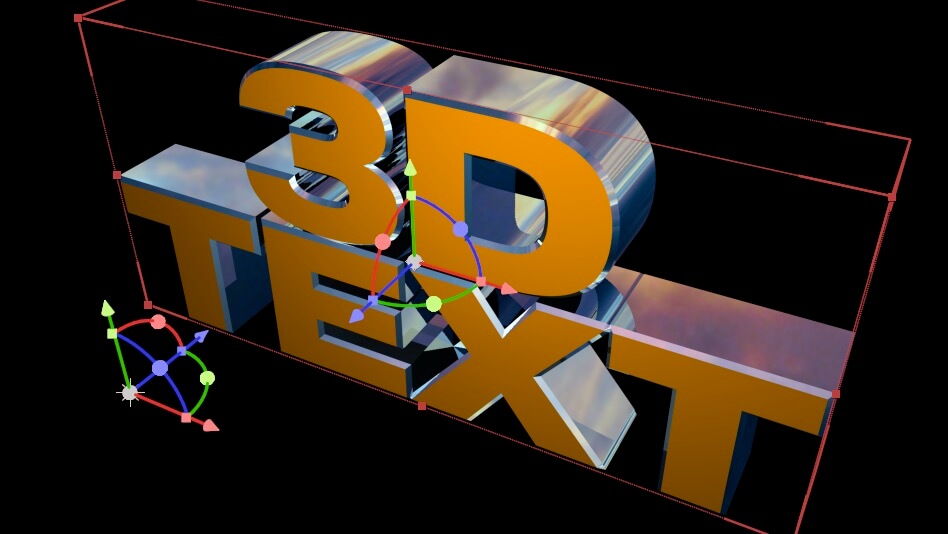
This step-by-step guide outlines the basic process for creating real 3D text in After Effects. Remember to experiment with the various options and settings to achieve the desired look and animation for your 3D text.
Video Tutorials
Technique 1: Using in-built 3D geometry
In this first YouTube video tutorial, ShootaTime demonstrates how to create 3D text with reflections in Adobe After Effects without the need for any plugins.
This tutorial provides a step-by-step guide to create impressive 3D text in Adobe After Effects, covering essential aspects such as text extrusion, camera movement, lighting, environment integration, animation, and effects, making it a valuable resource for users looking to enhance their video editing skills.
The process begins with creating a new composition and setting it to a 3D renderer called Cinema 4D. He then adds 3D text, adjusts its extrusion depth, and adds a camera to the scene, allowing for dynamic camera movement.
Lighting is introduced to the composition by adding parallel lights from different angles to illuminate the text. A colorful environment is incorporated, enhancing the visuals, and the presenter explains how to apply different environments to the text.
Finally, the video touches on animating the camera and text, as well as adding effects and animated textures for further customization.
Technique 2: Faking 3D
In this YouTube tutorial, Mike Murphy demonstrates how to create a faux 3D extrusion effect using Adobe After Effects CC 2022.
This tutorial provides a step-by-step guide for After Effects users to achieve a compelling 3D extrusion effect, making it accessible to both beginners and more experienced users looking to enhance their motion graphics skills.
He starts by adding text and converting it to shape layers. Then, he organizes the text into a group for better control. To achieve the faux 3D effect, he adds a stroke and a repeater, adjusting various properties such as color, width, and number of copies.
Mike also explains how to animate the effect by adding keyframes and offers tips on applying finishing touches like roughen edges and turbulent displace effects.
By the end of the tutorial, viewers will have learned how to create and animate a captivating faux 3D extrusion effect in Adobe After Effects CC 2022.
Technique 3: Using the Element 3D plugin
In this comprehensive video from Fattu Tutorials, the presenter guides us through the process of creating a 3D text effect using VideoCopilot’s Element 3D plugin. The tutorial covers a wide range of topics, from setting up the composition and importing textures to fine-tuning materials, lighting, reflections, and depth of field effects.
The instructor’s emphasis on customization and attention to detail allows viewers to achieve a visually stunning 3D text effect.
The video begins with a step-by-step guide on how to set up a new composition, import textures, apply the Element 3D plugin, and configure various settings for the 3D text. The tutorial covers essential aspects such as text alignment, extrusion, materials, lighting, reflections, and depth of field effects.
Throughout the video, the instructor emphasizes customization and provides tips on enhancing the text’s appearance, resulting in a final product that is both glossy and visually impressive.
Start with a ready-made 3D text template
If you’re looking for inspiration, or just a starting point for your 3D text why not use an existing After Effects template. These editable video projects don’t need any extra plug-ins and already have the dynamic camera movements, lighting and shadow effects all set.
Just type in your text and hit render!
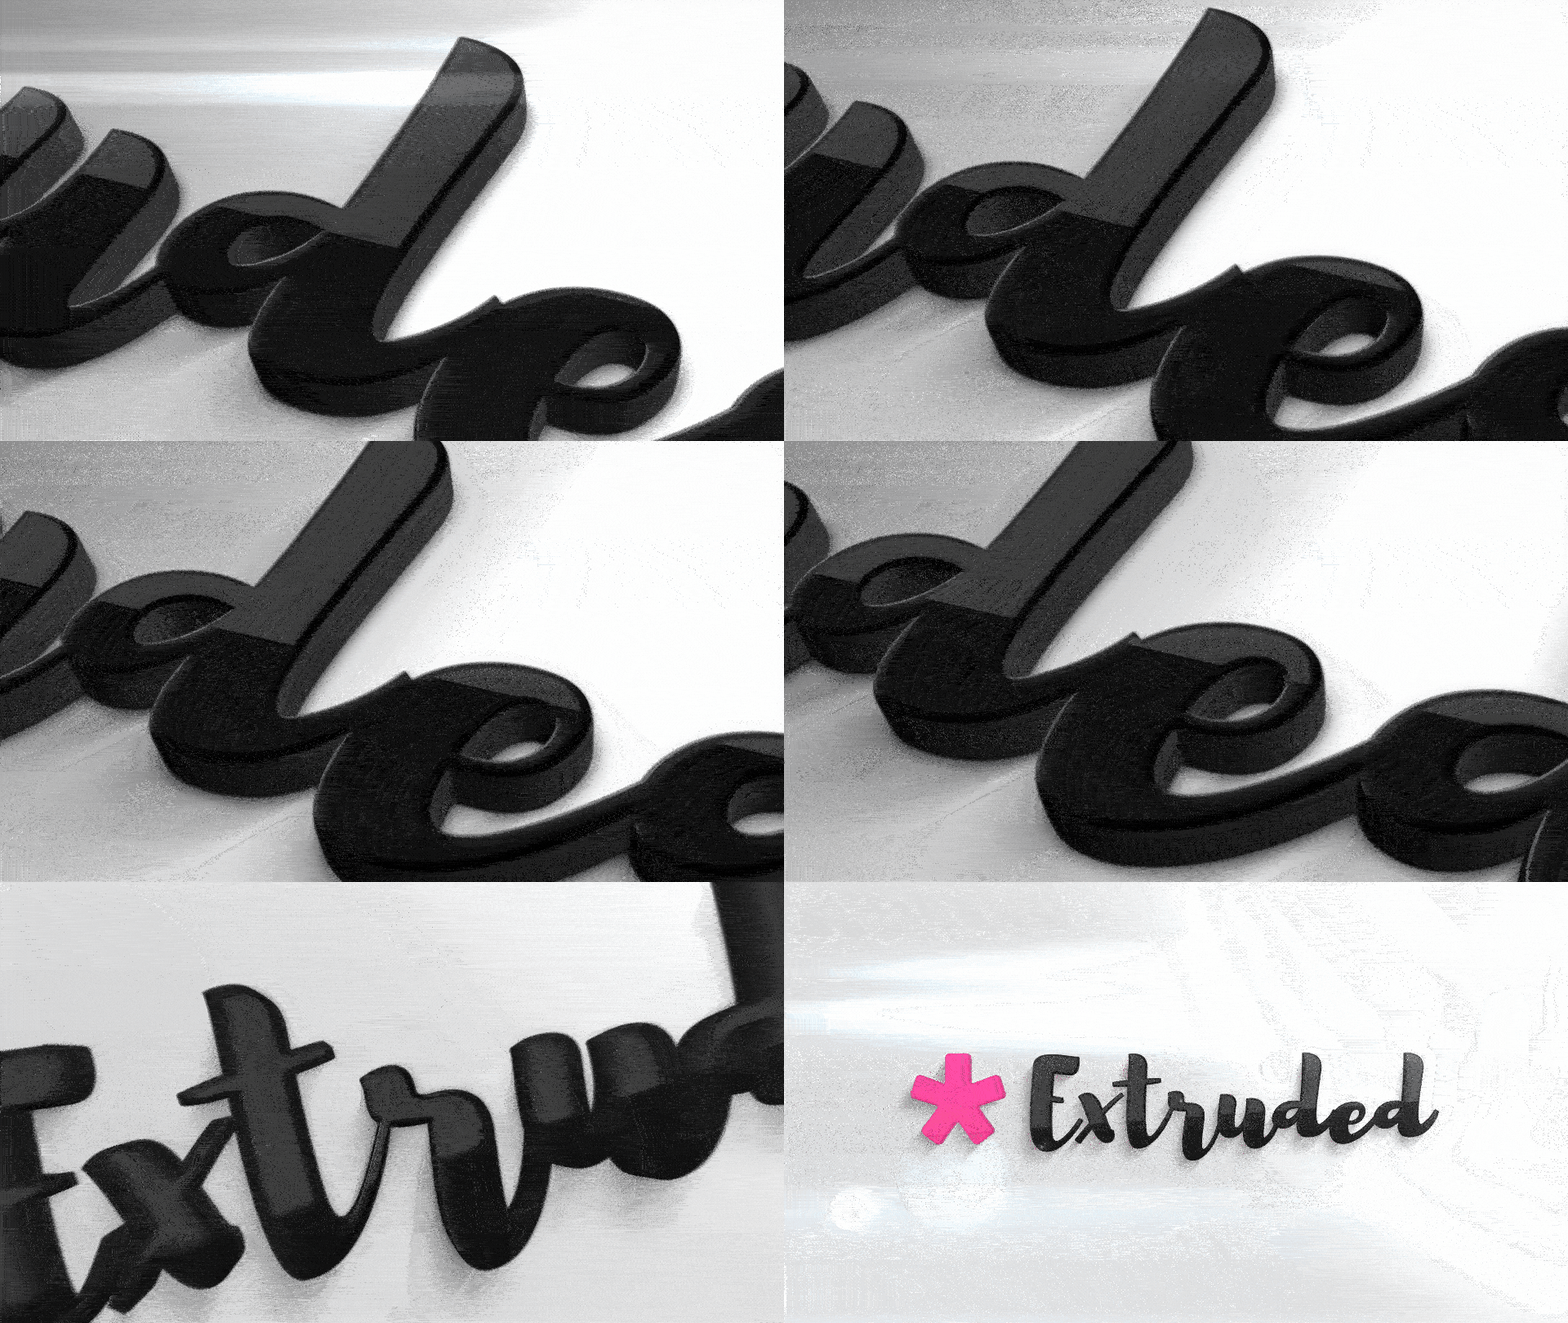
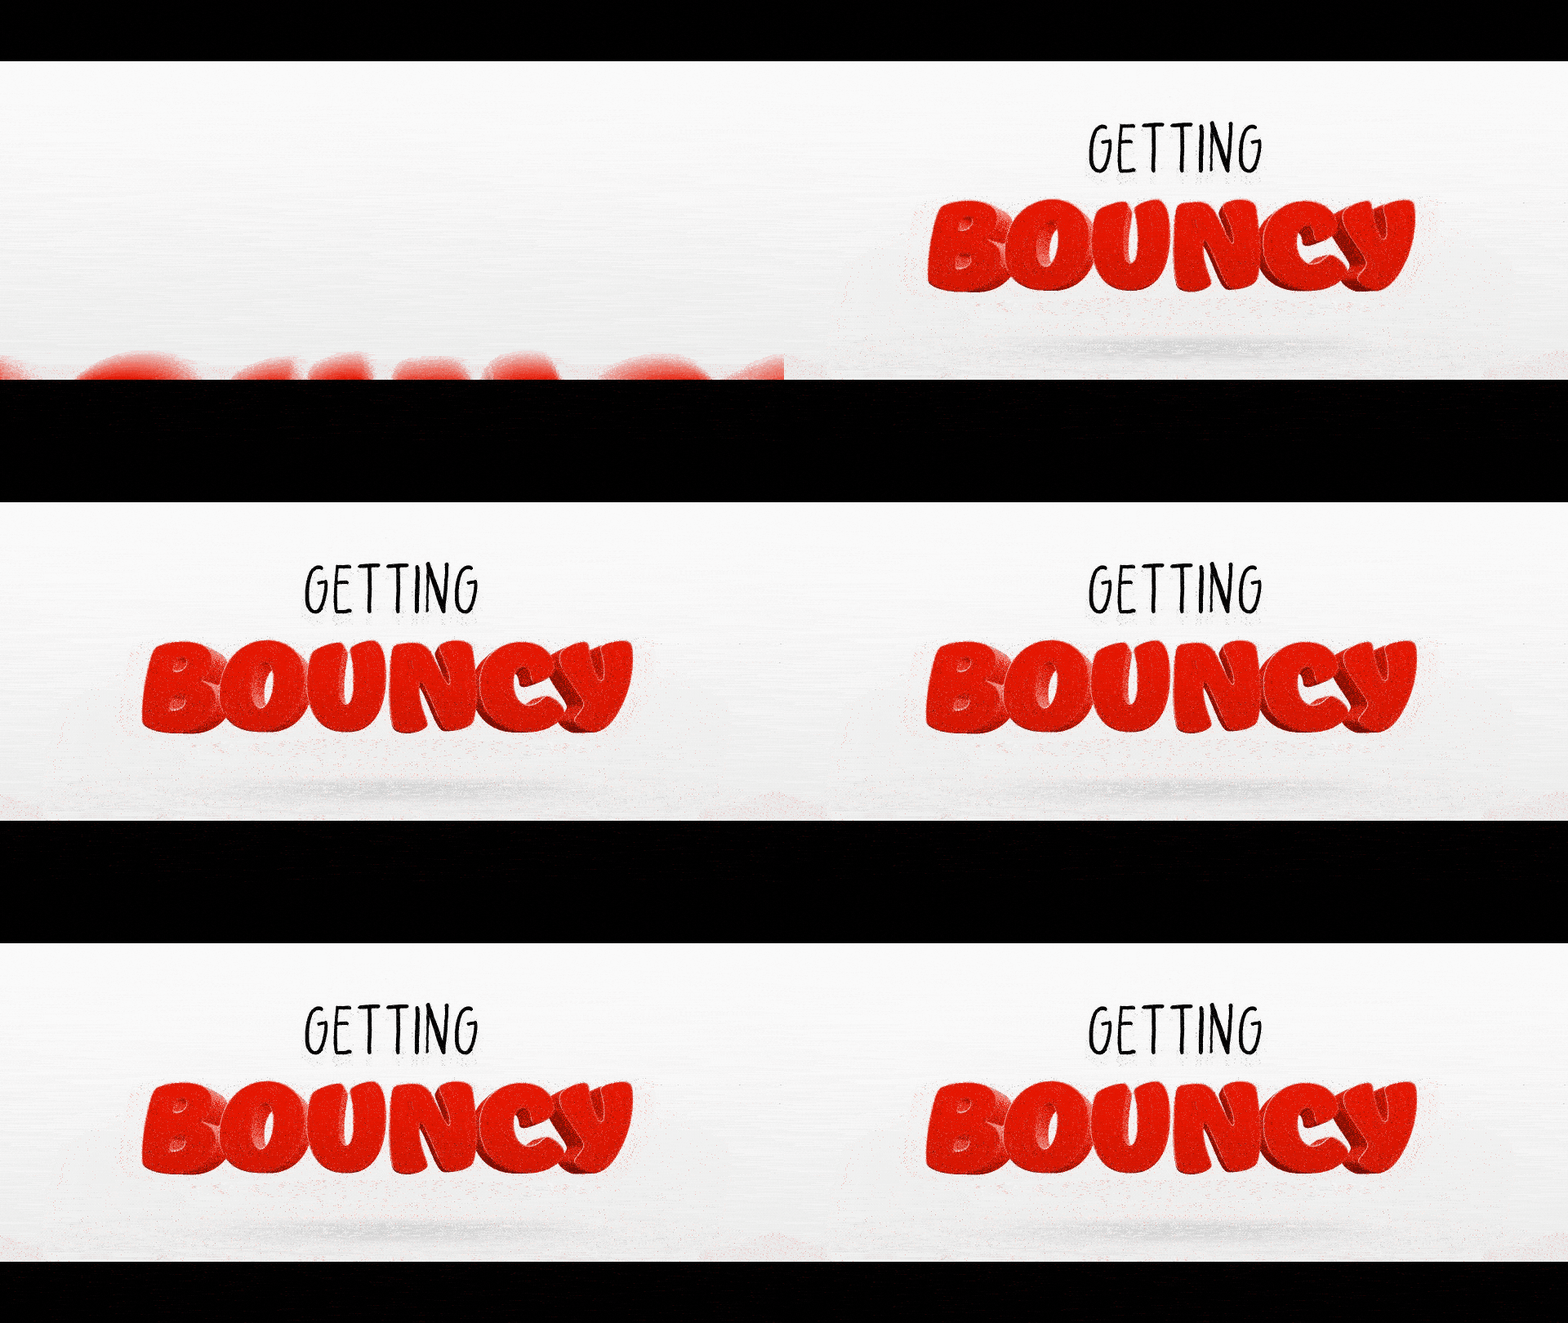
Bouncy Extruded 3D Movie Titles
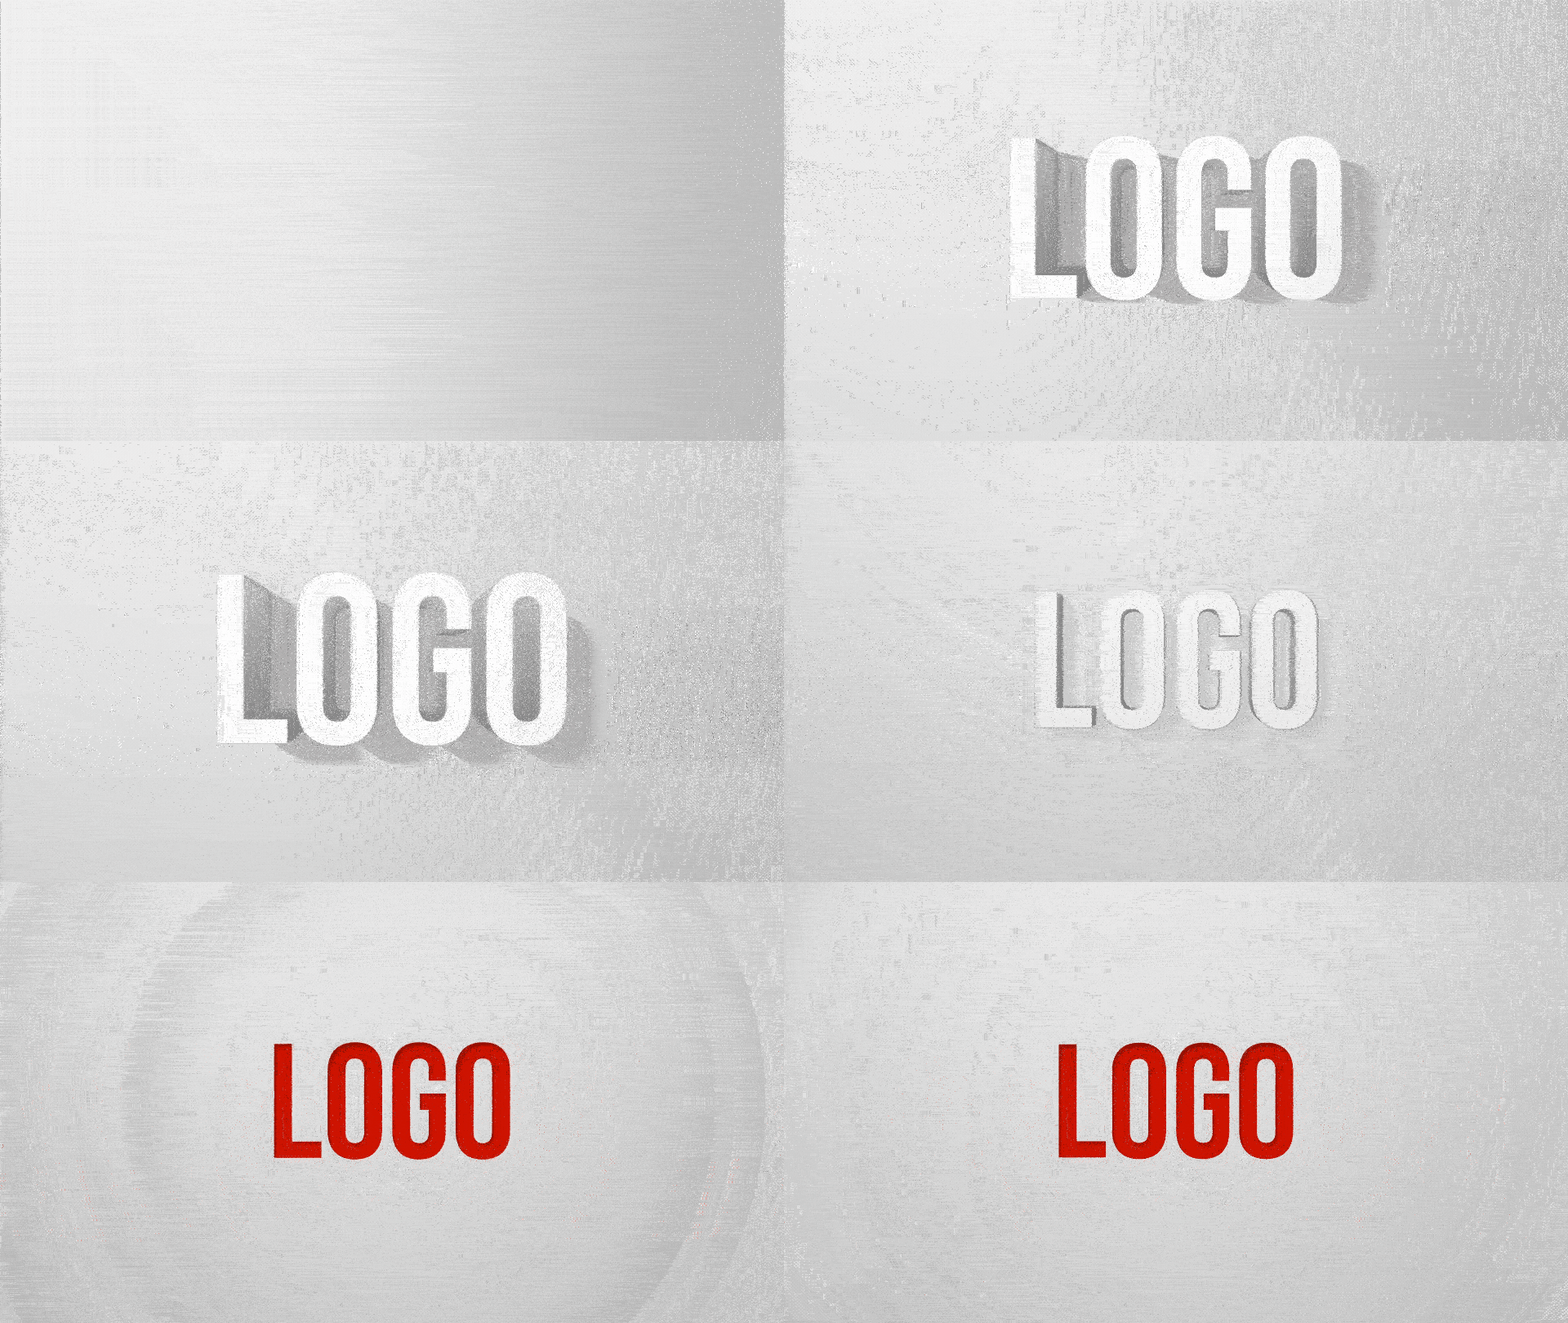
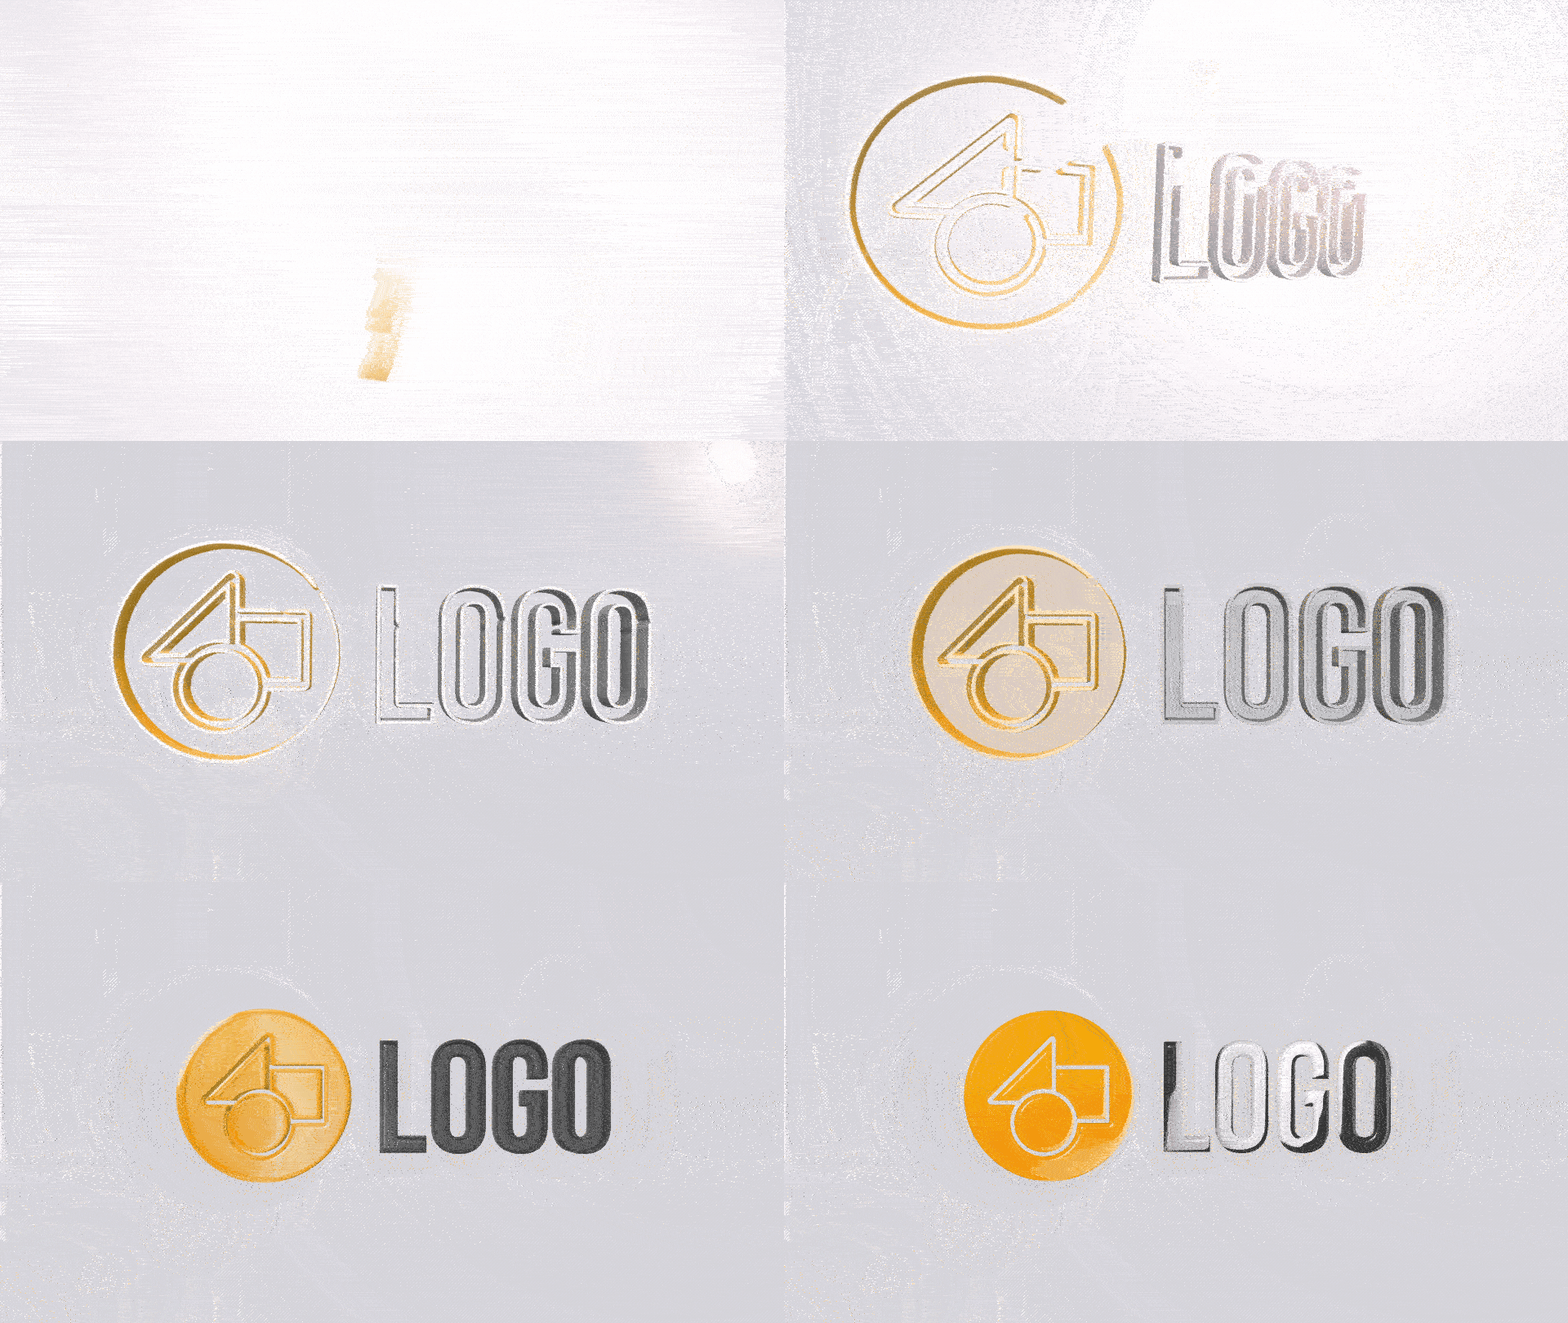
Clean 3D Embossed Spinning Logo Reveal
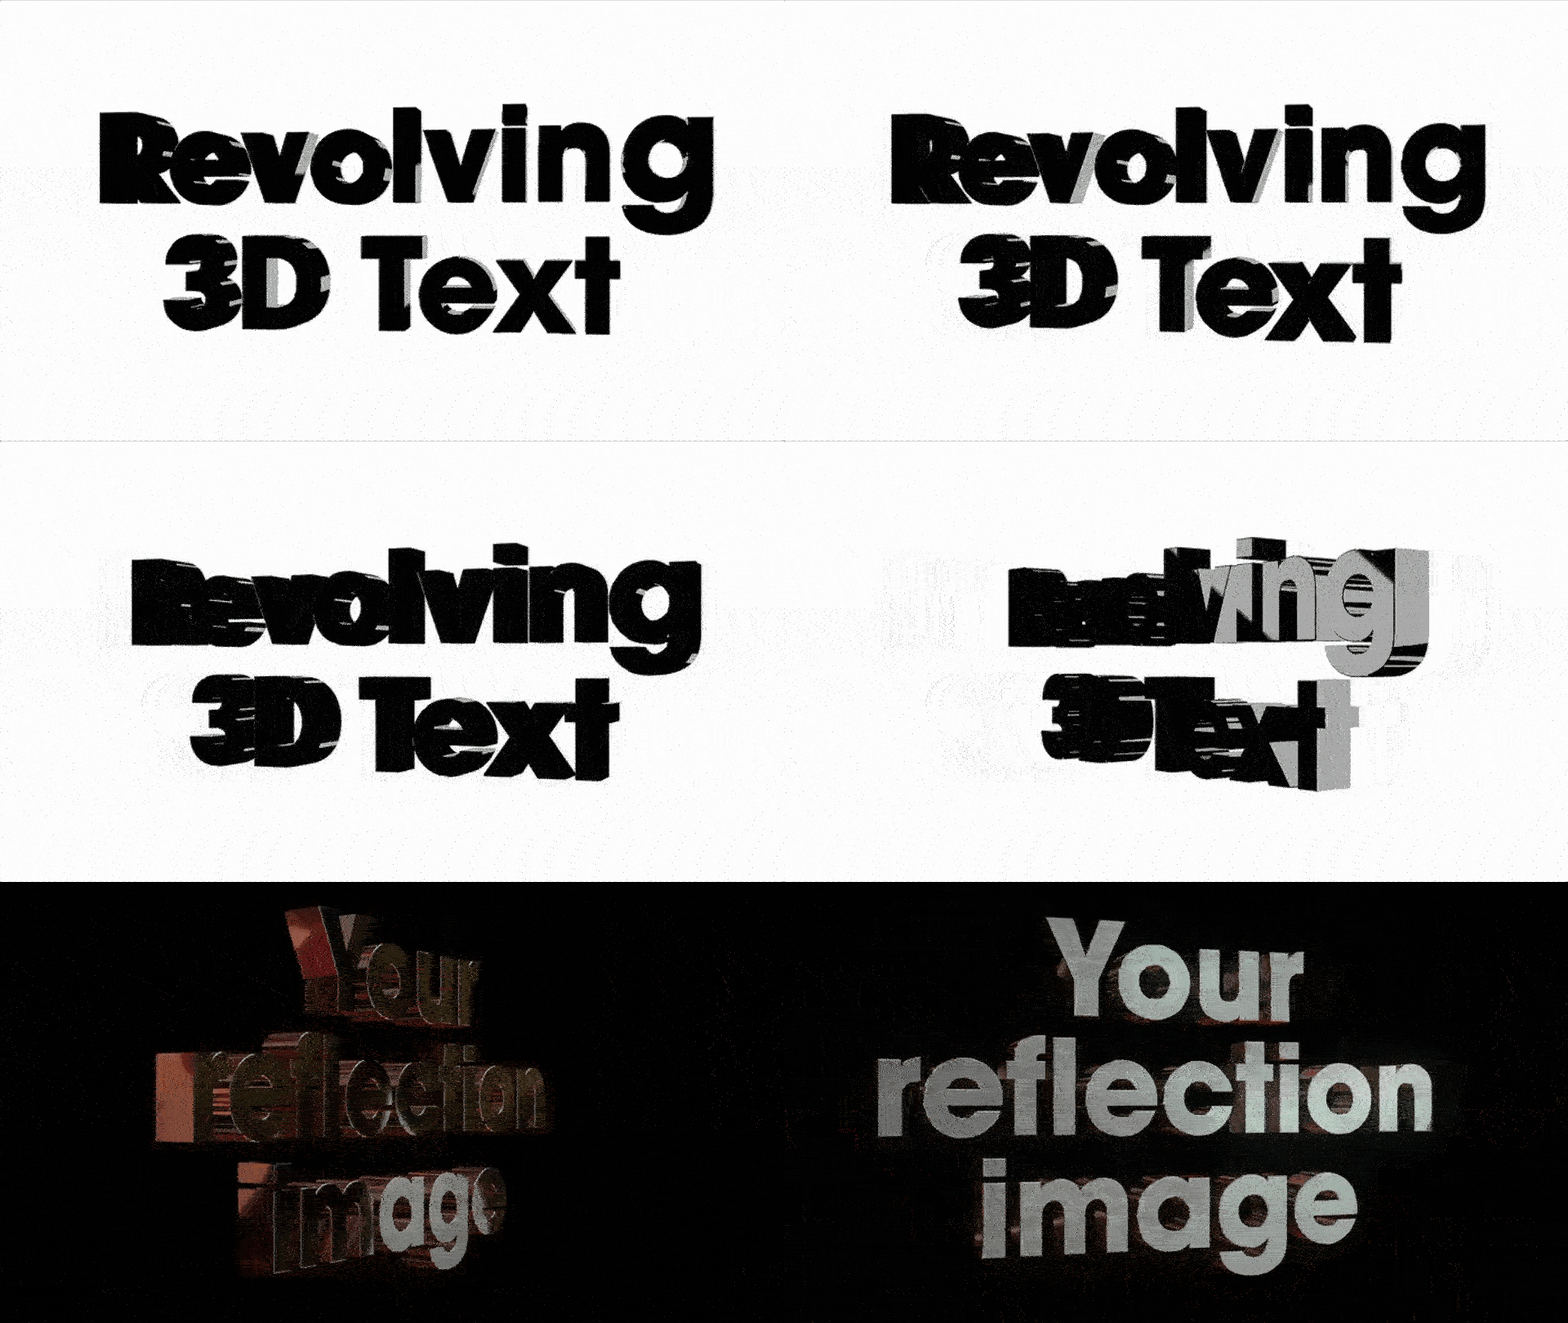
Revolving 3D Text with Reflections
