Replacing a sky in After Effects is a powerful and creative technique that can completely transform the mood and atmosphere of your videos. Whether you want to replace a dull sky with a beautiful sunset or create a fantasy world in your footage, here’s a step-by-step guide on how to do it: Step 1: Prepare Your Footage Before you start, make sure you have your footage and the replacement sky ready. Your replacement sky should ideally have a similar lighting and perspective to the original sky for a more realistic result. If you’re shooting your own sky footage, ensure the lighting and angles match. Step 2: Import Your Footage Step 3: Create a Composition Step 4: Add the Replacement Sky Step 5: Arrange Layers Step 6: Rotoscoping (if necessary) If your original footage includes subjects like people or objects that overlap with the sky, you may need to use the… read more
Video Production Articles, Tips and Tutorials
A quick After Effects basics video tutorial showing how to export video with a transparent background (alpha channel). Please note that not all video codecs support alpha channels. In this example we are exporting in Quicktime MOV format which is an uncompressed file type. Compressed video formats such as MP4 do not support transparency. Using video with transparency, often referred to as an alpha channel, offers a wide range of creative and practical possibilities in various contexts. One primary use is within video editing and compositing, where transparent areas allow for seamless integration of video elements onto different backgrounds. This is invaluable in film production, advertising, and visual effects, as it enables the superimposition of characters, objects and effects (VFX) onto new scenes. How to Export Transparent Video from After Effects Here’s a list of instructions for exporting video with transparency from Adobe After Effects: You can check to see… read more
Sometimes you only want to show part of your footage, revealing the underlying layer or transparency, or to mask off specific areas. Here’s a short After Effects basics video tutorial showing two ways to crop footage (or image) layers. Cropping Footage Using a Layer Mask Cropping Footage Using the Linear Wipe effect For a free trial of Adobe After Effects use the link below. For more handy After Effects tips and templates subscribe to our YouTube channel.
A selection of free winter backgrounds and snow overlay videos from Adobe Stock, many available in 4K resolution. In the realm of digital content creation, the use of free snow videos can be a game-changer, adding a touch of wintry magic to your projects. Whether you’re a video editor, a website designer, or a social media influencer, these snow videos can serve a multitude of purposes, elevating the aesthetics of your work and capturing the enchanting beauty of winter. Click on the thumbnails to take you to the Adobe Stock website. Here are a few ways you can incorporate these free snow videos into your projects: These free snow videos offer an array of creative possibilities, enabling you to infuse your projects with the charm and tranquility of a snowy winter’s day. With their versatility, they’re a valuable resource for any content creator looking to capture the essence of the… read more
Introduction Adobe After Effects is a powerful software that allows you to create stunning motion graphics, visual effects, and animations. However, for many, harnessing its full potential can be a daunting task. That’s where Adobe After Effects templates come into play. These pre-made project files simplify the creative process, enabling users to produce professional-quality videos with ease. In exciting news, Adobe has expanded its offerings by integrating After Effects templates into the Adobe Stock library. In this blog post, we’ll dive into what After Effects templates are, how to use them, and explore the benefits of their inclusion in Adobe Stock. What Are Adobe After Effects Templates? Adobe After Effects templates are pre-designed project files that can be customized to suit your specific needs. They are essentially pre-built compositions with placeholders for various elements like text, images, videos, and effects. These templates can range from simple text animations to complex… read more
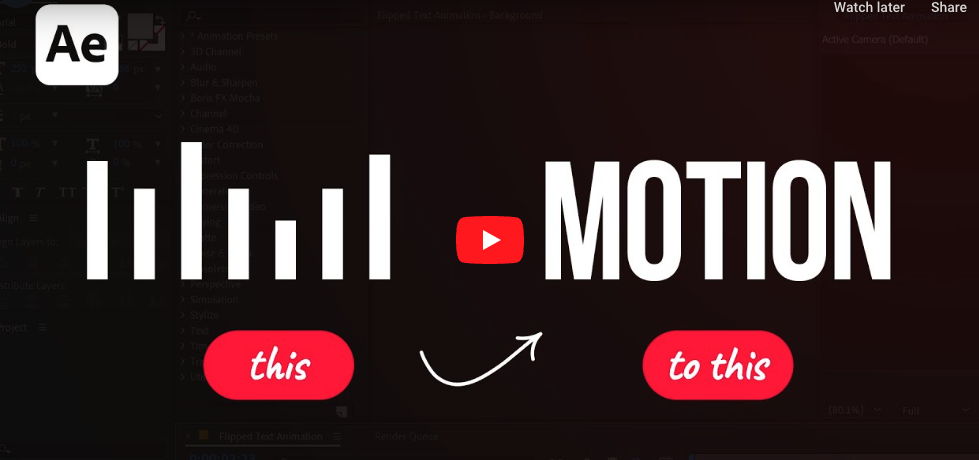
In this Adobe After Effects tutorial, Avnish Parker guides us through the process of creating a captivating Flipped Text Animation. We’ve taken the time to list out the instructions in text format. So, let’s dive in and make your text come to life! Setting the Stage Creating the Background 3. Add a new solid layer and name it “background.” Adjust its size and choose your preferred background color. In this case, we’ve gone with a stylish dark grey. Working with Text 4. Select the text tool from the toolbox. The chosen font here is Bebas Neue. Animating the Text 10. Open the rotation by pressing ‘R’ on your keyboard. Adding Bounce Effect 15. Open the scale and unlink proportion scaling by clicking on the link icon. Fine-tuning and Motion Blur 22. Return to the main timeline and enable motion blur for the text layer. Duplication and Final Touches 24. Duplicate… read more

