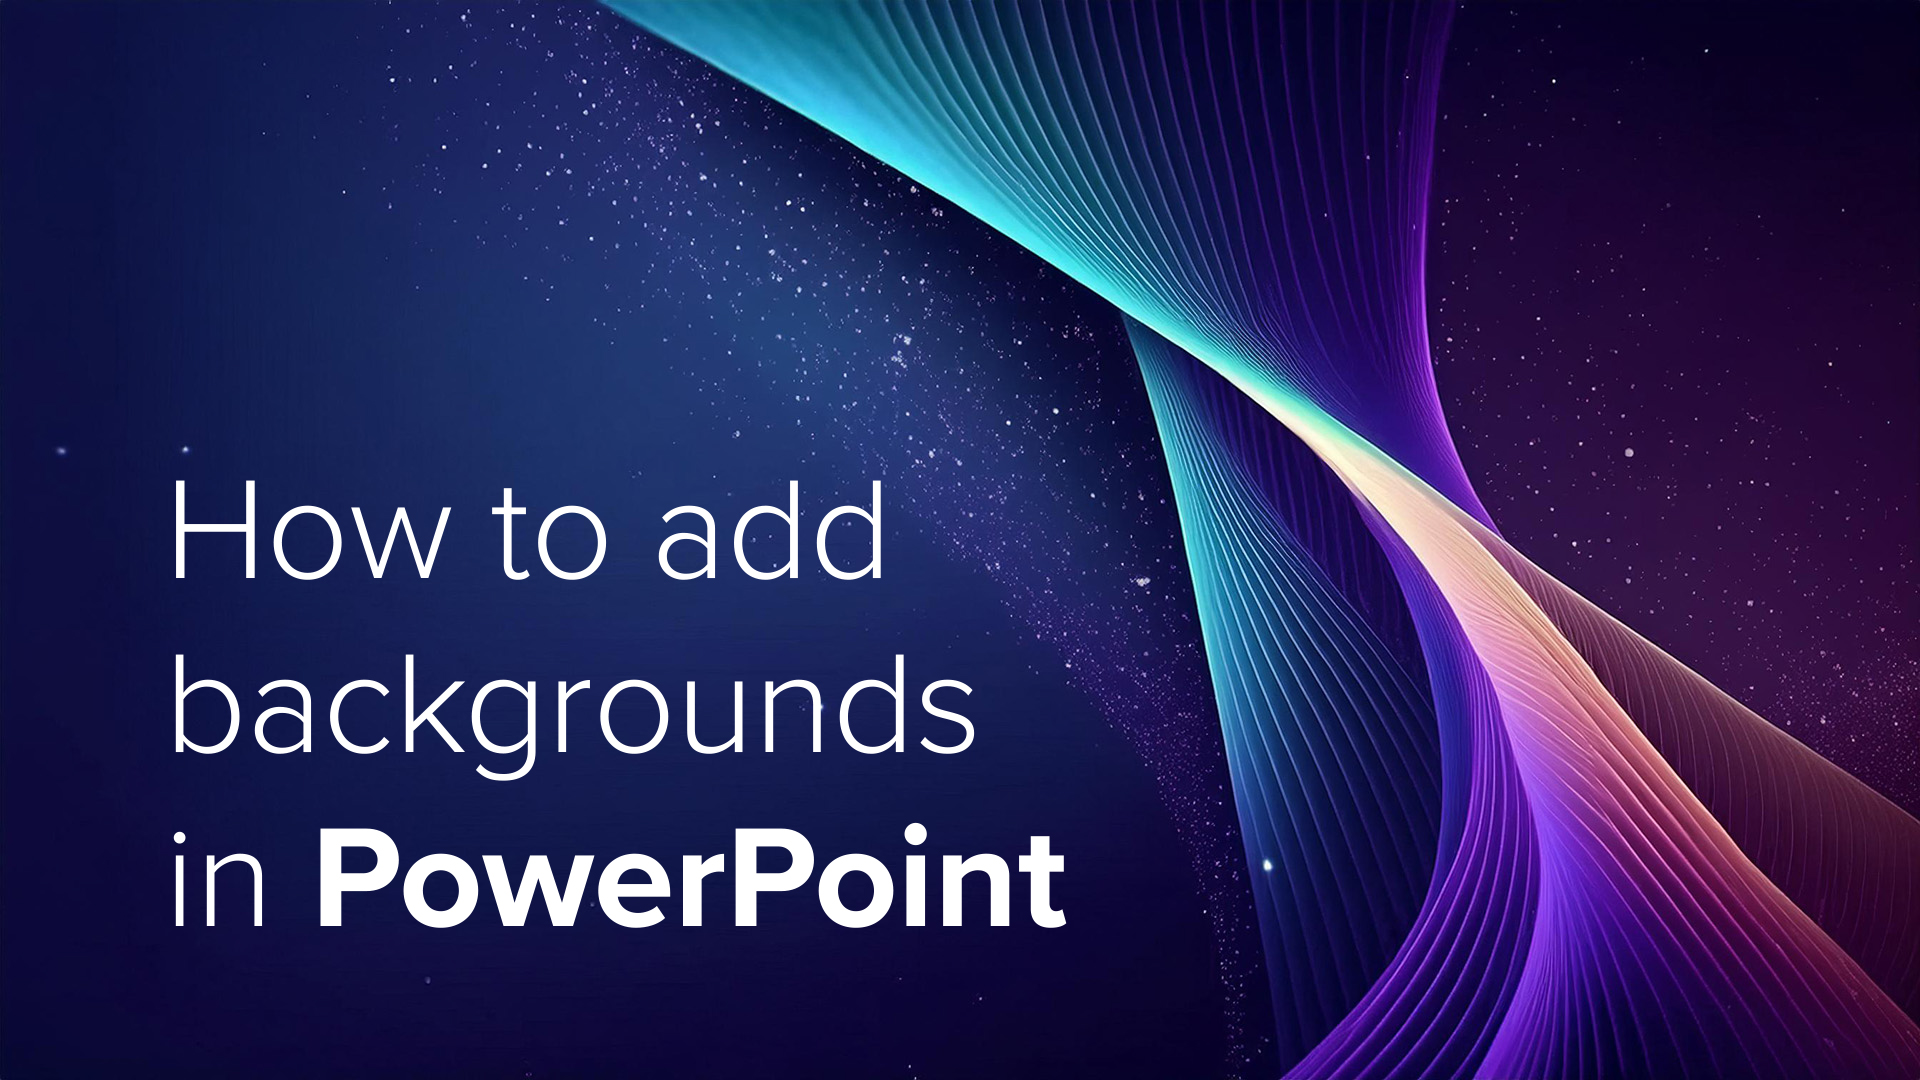
Adding a background image to your PowerPoint slides can make your presentation visually engaging and memorable. Here’s a step-by-step guide on how to do it, using Microsoft PowerPoint (versions may vary slightly, but these steps should guide most recent versions): Step 1: Open Your Presentation Step 2: Select the Slide Step 3: Access the Background Settings Step 4: Insert the Background Image Step 5: Adjust the Image Options Step 6: Apply to All Slides (Optional) Step 7: Check and Modify Step 8: Save Your Presentation Additional Tips By following these steps, you can effectively enhance your PowerPoint presentations with custom background images, making your slides visually appealing and engaging. Need some free background images for PowerPoint? Look no further! We have some free cool, abstract images perfect for PowerPoint slides. Create your own backgrounds for PowerPoint with Adobe Firefly Fancy creating your very own PowerPoint background images quickly and easily?… read more
Video Production Articles, Tips and Tutorials

Exporting Video Sequences from Premiere Pro So, you’ve finished your amazing video and need to send it the client or upload to YouTube – but how to keep the file size down whilst maintaining quality? Easy, just export in MP4 format. Thankfully, Adobe has made it easy to export MP4 video directly from Premiere Pro, without the need for additional software. This short and simple video tutorial by Adobe in a Minute explains how to export a video in Premiere Pro. https://www.youtube.com/watch?v=5ycfaspPMWk Here’s how to export your Premiere Pro video as an MP4: Step 1 – Go to File > Export Access the Export menu in Adobe Premiere Pro by going to File > Export > Media, or use the keyboard shortcut Ctrl+M (Windows) or Command+M (Mac). Ensure the format is set to H.264 to save the file as an MP4, which is widely used and compatible across various platforms…. read more
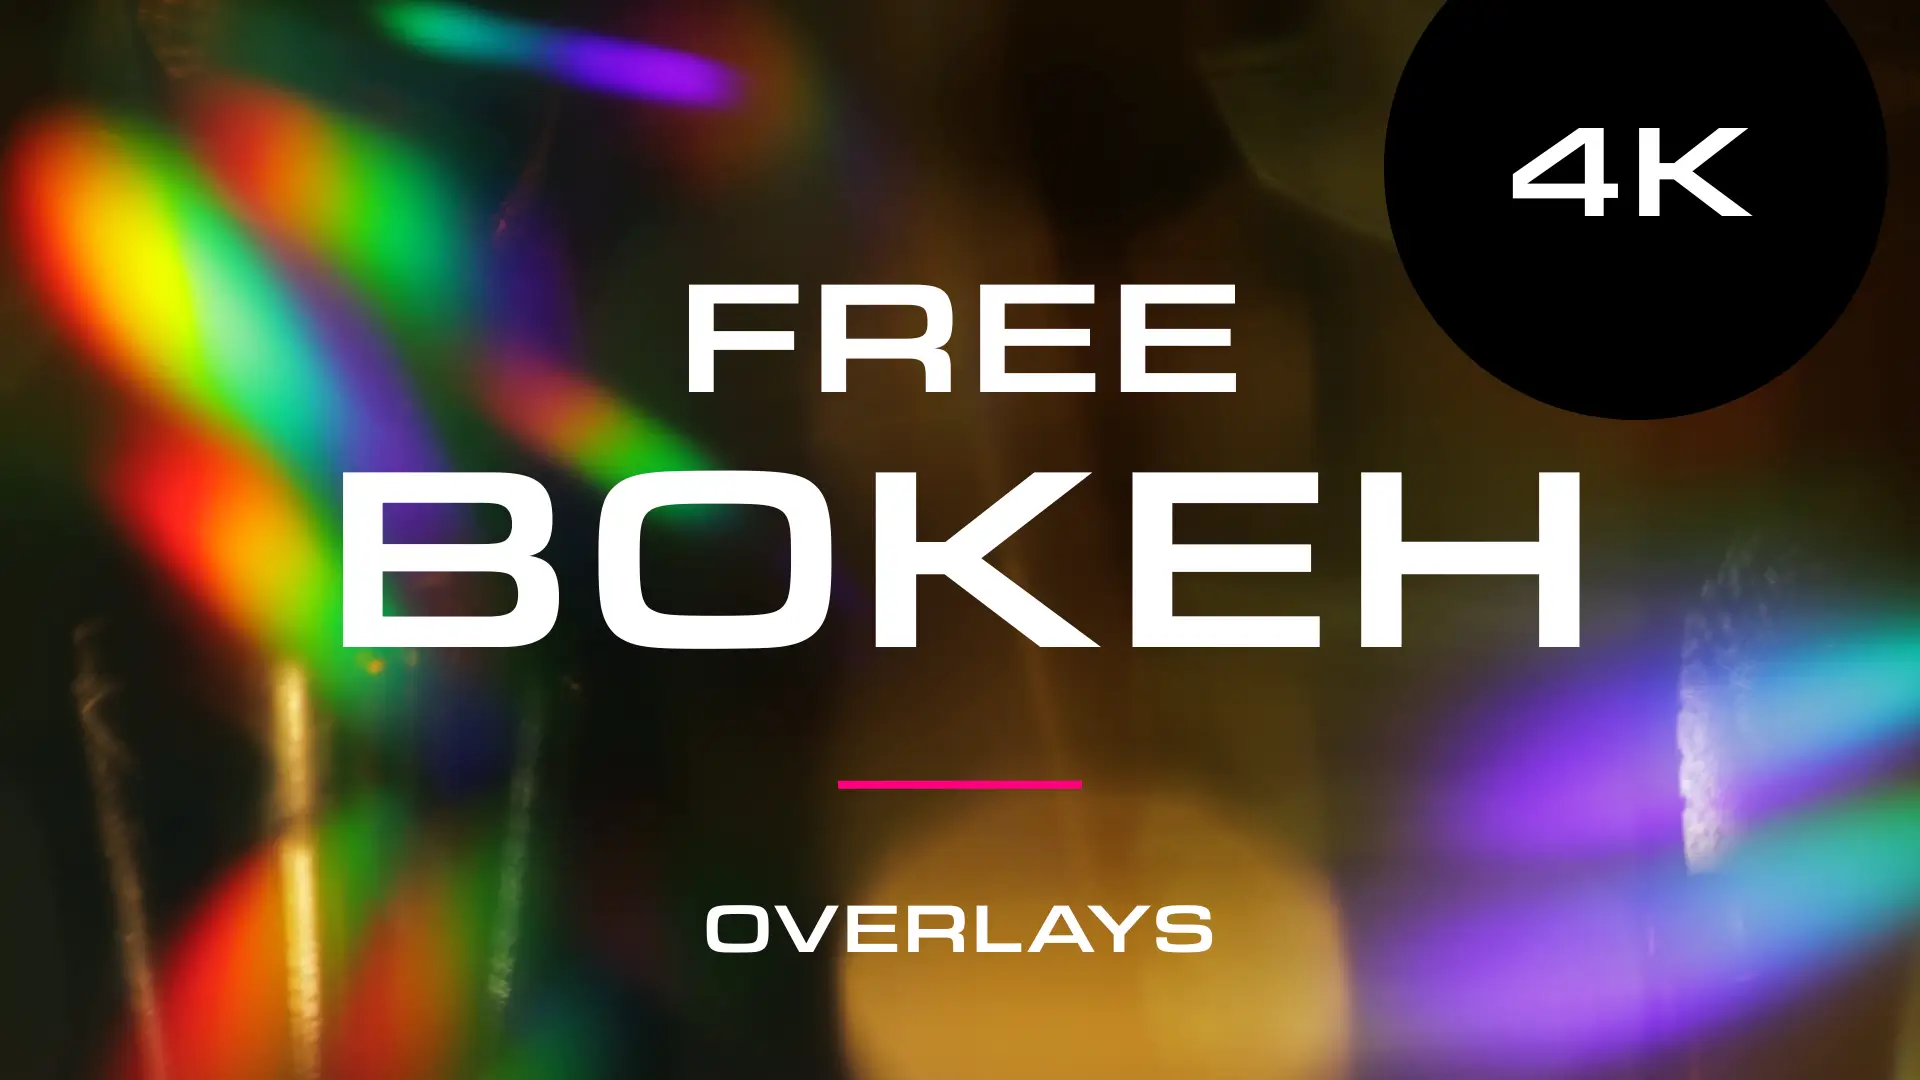
A selection of beautiful bokeh light leak overlays to download for free from Adobe Stock. Perfect for Christmas holiday videos and adding a touch of glamor to your productions. Available in up to 4K resolution. The bokeh light effect is a mesmerizing and aesthetically pleasing phenomenon in photography, characterized by the out-of-focus areas in an image. Derived from the Japanese word “boke,” meaning blur or haze, bokeh is achieved when a camera lens creates a soft, defocused background, turning distant lights into beautifully blurred, glowing orbs. These free bokeh video effects from Adobe Stock will work in all major video editing software including Premiere Pro, Final Cut, After Effects, and iMovie. Bokeh overlay free downloads Click on the images to download these free bokeh light leak video clips from Adobe Stock: How to use these overlays Whilst the clips won’t have transparency you can use blending modes to make sure they combine… read more
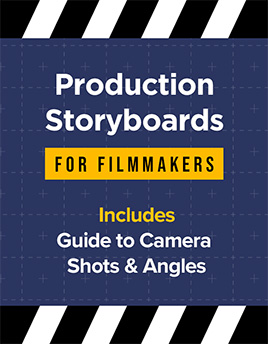
Close-up or medium shot? High angle or POV shot? What type of camera angle is best? We break down the basic camera shot types so you can storyboard your video or animation sequence with confidence! For video makers, film directors and animators using the correct, conventional camera terminology is key to giving the impression that you know what you’re doing! One of the basics is learning how to describe the framing of your subject matter to other people. This is where you’ll want to brush up on the language (or grammar) of camera shots. Of course, you can simply disregard all of the tried and tested findings from a hundred years of cinema, and develop your own unique style of communicating! But, it’s important to know the rules before you break them. Bear in mind everyone in the television and film industry will be using the same lingo, so don’t… read more

HD SMPTE Color Bars With Tone – Free Download I quickly generated this color bars test pattern for a recent video project. It may not be 100% accurate but it looks professional enough! Feel free to download it using the link at the bottom of this page. Originating in the 1970s, the SMPTE color bars is a standard test pattern, utilised by video engineers, to conform multiple sources of video content to a single specification. The pattern can also be used to calibrate chroma and luminance values on video monitors. Understanding the SMPTE Color Bars: A Guide to Video Calibration In the world of video production, quality and accuracy are paramount. Ensuring that the colors, tones, and levels in your video are calibrated correctly is crucial for delivering a professional and visually appealing product. One tool that has been a staple in video calibration for decades is the SMPTE color bars. What… read more
Creating cool animations in After Effects is often really quite straightforward, but to make things even easier you’ll want to be using these handy tips and expressions. We’ve spent years creating motion graphics and animated sequences, so we thought we’d share our go-to, time-saving pointers – the shortcuts we use all the time! Included in this list : → Handy Tips for After Effects – general hints, tips and pointers for making life easier!→ Useful After Effects Expressions – exciting code snippets to automate and elevate your animations!→ Essential AE Keyboard Shortcuts – memorize these simple keystrokes to speed up your workflow! Download this After Effects tips and expressions list as a PDF : Try After Effects for Free Use the link below to access a trial version of Adobe’s incredible motion graphics software. Handy Tips for After Effects Let’s start with some general After Effects hints and tips, from… read more
Sponsored Resources


- Why Your Brand Needs Adobe Express
- What is Adobe Express and Why It’s the Secret Weapon for Creators
- The Best Free AI Video Generators for TikTok, Reels & YouTube
- Best AI Video Tools for Business in 2025: Voice, Avatar & Automation Included
- Ranking Every Star Wars Movie (from Worst to Best – 2025)


-
 Fusion – Hi-Tech Logo Reveal Pack for Premiere Pro
 - Clean Corporate Logo Reveal Pack for Premiere Pro
- Old Vintage Tintype Media Filter – Premiere Pro Template
